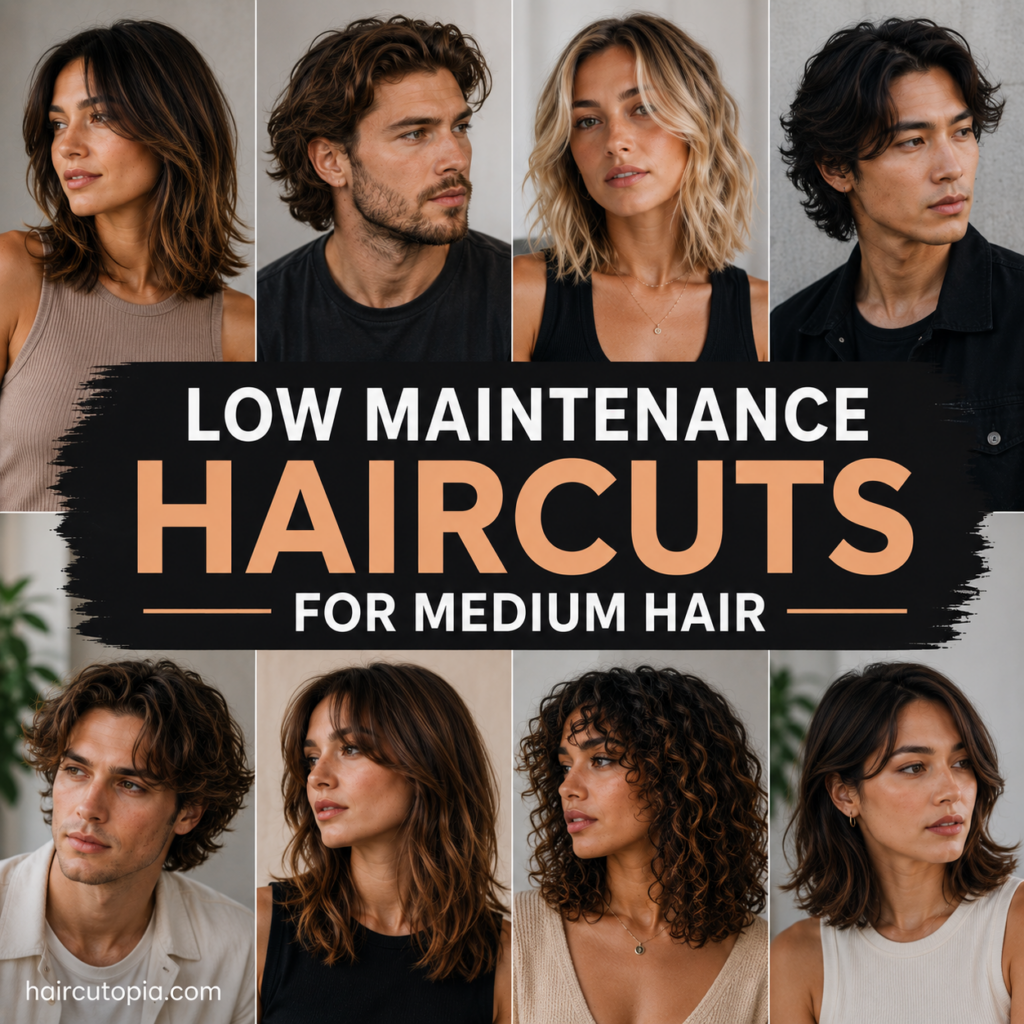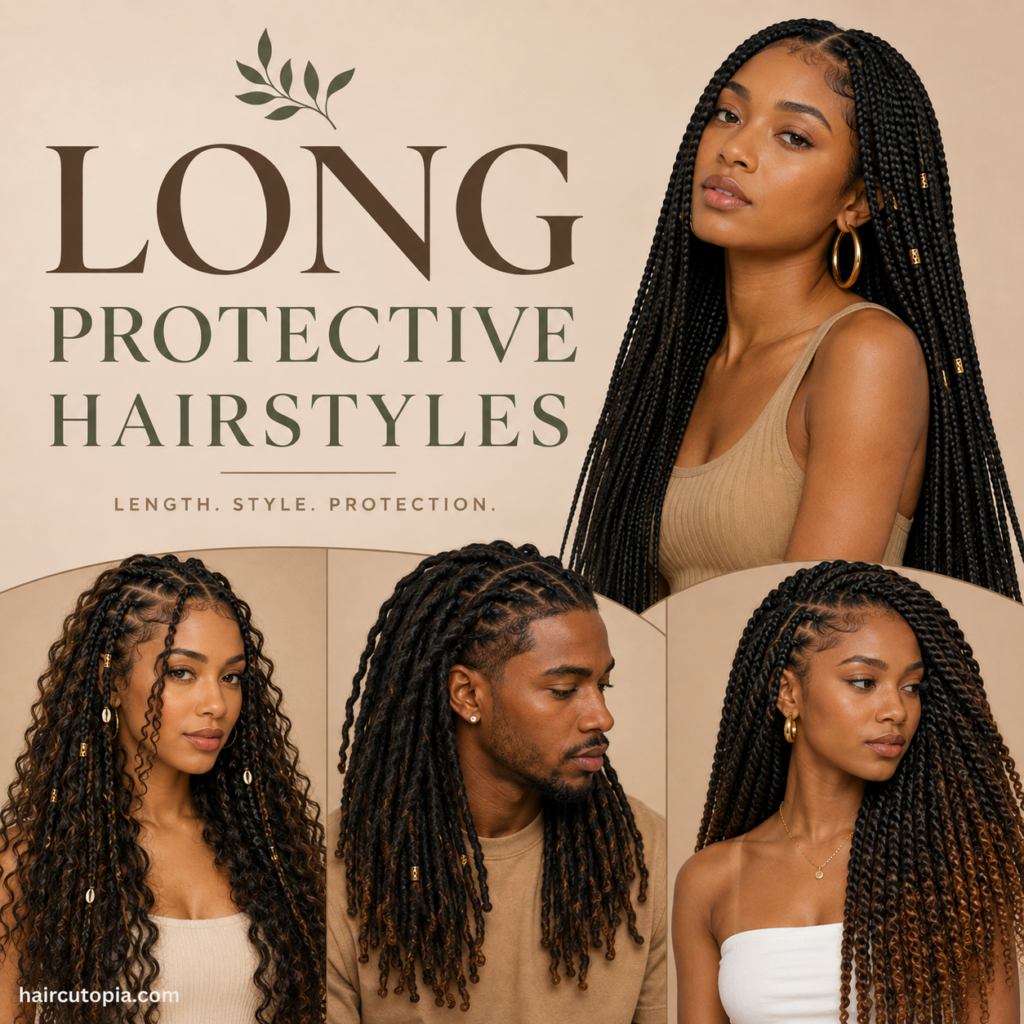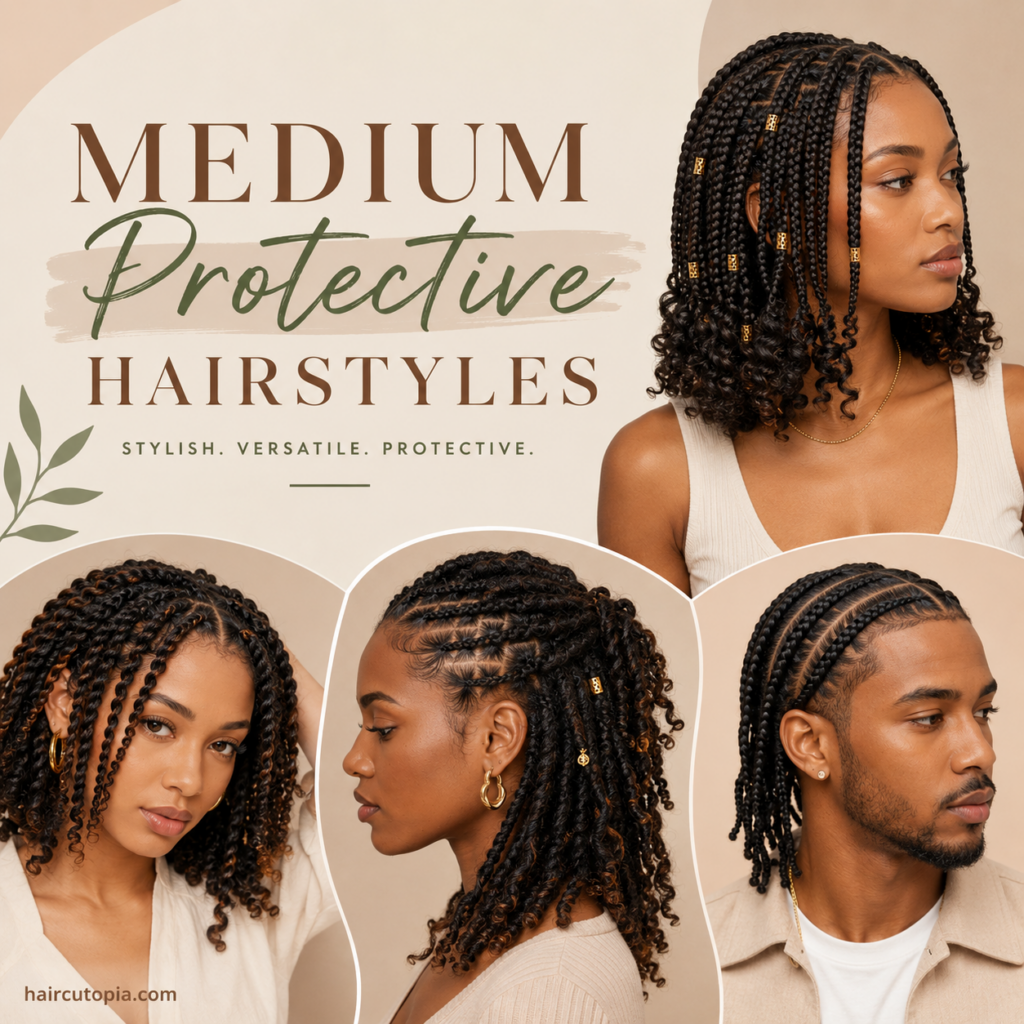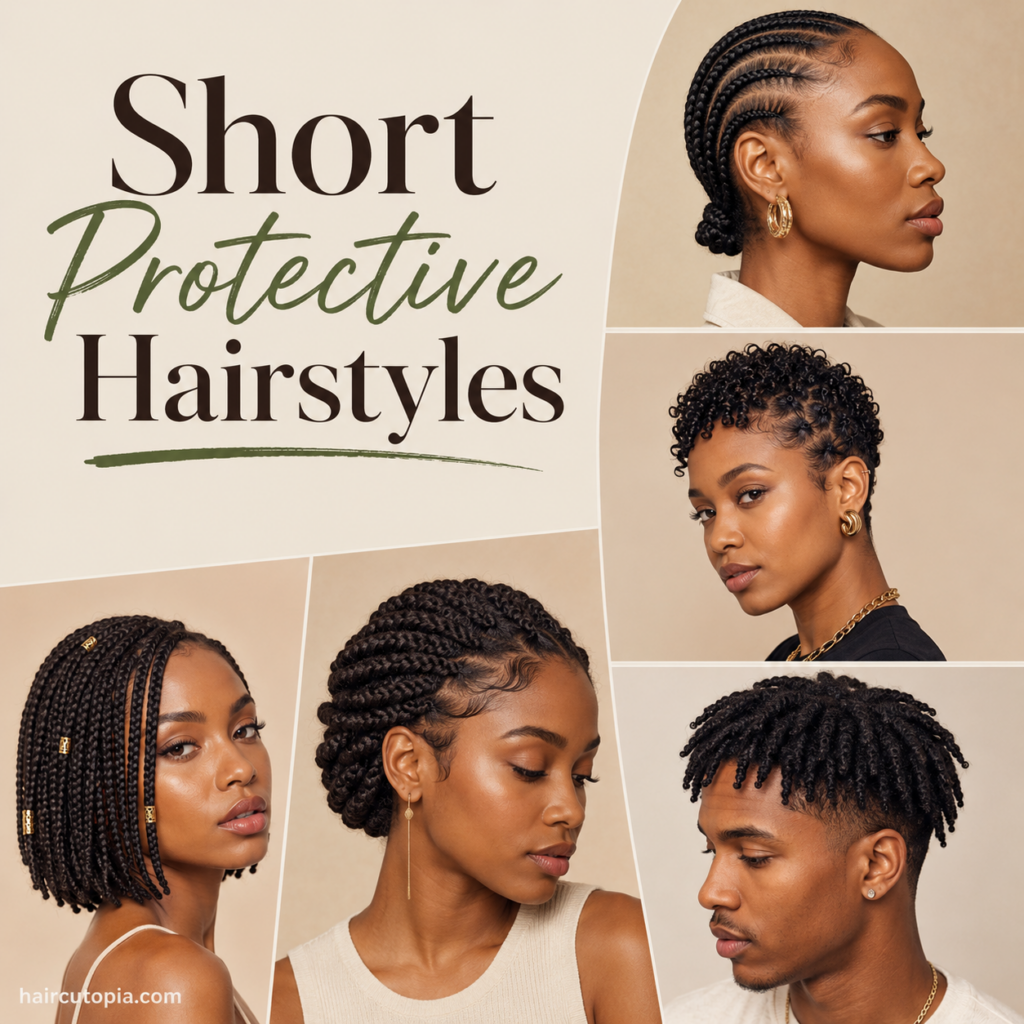
Some protective hairstyles are works of art—and also require several hours, a very patient scalp, and possibly an entire afternoon at the salon.
Thankfully, they don’t all have to be complicated.
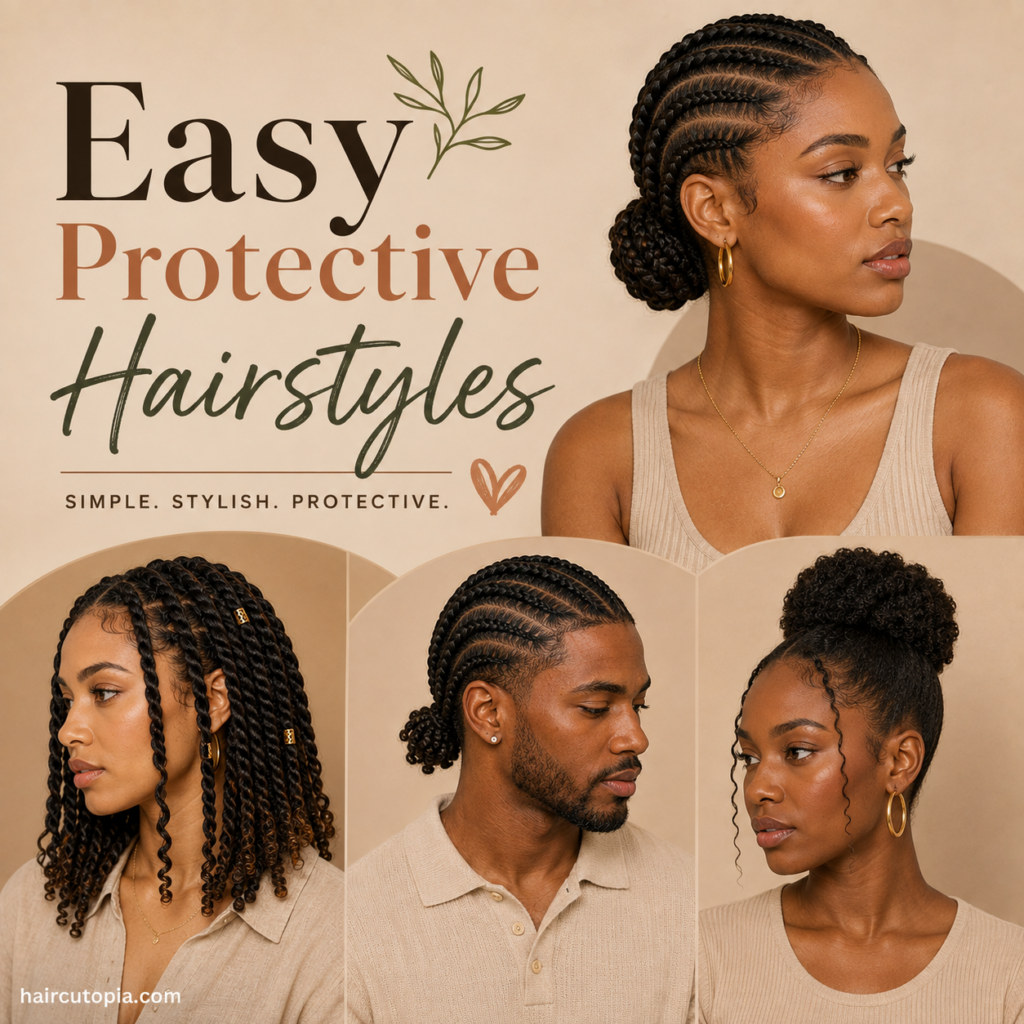
Easy protective hairstyles are about making your hair routine simpler while reducing unnecessary manipulation. That might mean putting your natural hair into two-strand twists for the week, wearing a few simple cornrows, creating a tucked bun, or choosing medium knotless braids that don’t need much daily styling once they’re installed.
The best option isn’t necessarily the most elaborate one. It’s the hairstyle you can comfortably wear, maintain, and eventually take down without turning hair care into another full-time job.
Whether you’re looking for something you can do yourself or a longer-lasting style that makes mornings easier, these protective hairstyle ideas offer plenty of options.
What Makes a Protective Hairstyle Easy?
“Easy” can mean different things depending on what part of the process matters most to you.
Some hairstyles are easy to install but need more frequent refreshing. Others take several hours to put in but require very little daily styling afterward.
Generally, an easy protective hairstyle has at least a few of these qualities:
- Simple installation
- Minimal daily styling
- Comfortable weight
- Easy nighttime maintenance
- Straightforward washing and scalp care
- Relatively simple takedown
- Few products required
- Enough versatility for everyday activities
Before choosing a style, decide whether you want an easy installation or easy maintenance. They’re not always the same thing.
Best Easy Protective Hairstyles to Try
You don’t need advanced braiding skills to experiment with protective styling.
Some of the simplest options use your natural hair, while others can be professionally installed and then largely left alone between maintenance sessions.
Two-Strand Twists
Two-strand twists are one of the most approachable protective hairstyles for natural hair.
The technique is exactly what it sounds like: divide a section of hair into two pieces and twist them around each other.
You can make the sections large for chunky twists or smaller for more definition and movement. Once installed, twists can usually be worn down without much additional styling.
Change the part, pin one side back, or pull the top section away from your face when you want a slightly different look.
Mini Twists
Mini twists use the same basic technique as two-strand twists but with smaller sections.
Installation takes longer, but the finished style can be incredibly versatile.
Depending on your length, mini twists can be:
- Worn completely down
- Side parted
- Pulled into a low ponytail
- Styled half-up
- Pinned away from the face
- Gathered into a loose bun
They’re especially useful if you want your natural hair to remain visible while reducing the amount of styling you do each morning.
Chunky Twists
If mini twists sound like too much work, go in the opposite direction.
Chunky twists require fewer sections and can be much quicker to install. The larger size creates a fuller, more relaxed appearance.
They may not last as long as smaller twists, but that’s not necessarily a drawback. Chunky twists are great when you want a temporary protective hairstyle for several days rather than something you’ll keep for weeks.
Flat Twists
Flat twists lie against the scalp and can be a simpler alternative to cornrows for people who find twisting easier than braiding.
You can create several straight-back flat twists, direct them toward one side, or use them to form a crown around the head.
Another option is flat twisting the front and leaving individual twists in the back.
That gives you the structure of a scalp style without having to flat twist your entire head.
Simple Cornrows
Cornrows don’t have to involve complicated geometric patterns.
A handful of straight-back cornrows can create a clean, practical protective hairstyle that stays out of the way.
If you’re doing them yourself, start with larger sections rather than attempting dozens of tiny braids.
Simple patterns are often easier to maintain, too.
Low Tucked Bun
A low tucked bun is a good option when you want your ends secured without adding extensions.
The exact technique depends on your hair length and texture, but the general idea is to gather the hair low and gently tuck the ends inward.
This creates a polished look without requiring individual braids or twists across the entire head.
Avoid pulling the hairline excessively tight just to make the bun look sleek. A little softness around the edges is perfectly fine.
Tucked Roll
A tucked roll creates an updo by rolling the hair inward and securing it with pins.
It works particularly well on medium or longer natural hair and can look much more complicated than it actually is.
You can create one large roll at the back or divide the hair into several sections.
It’s also useful when you want something that can transition easily from everyday wear to a dressier setting.
Braided Crown
A simple braided crown keeps the hair away from the face while creating a finished look.
Depending on your length, you can braid your natural hair around the perimeter or create larger braids and pin them into a crown shape.
The style doesn’t need to be perfectly symmetrical. A slightly softer finish can make it feel more relaxed and modern.
Bantu Knots
Bantu knots are compact, stylish, and don’t require long hair.
The hair is divided into sections, twisted, and wrapped into small knots.
Larger sections make the installation quicker, while smaller sections create more individual knots and a more detailed finished look.
You can also experiment with the parting. Squares are straightforward, but triangular or diamond-shaped sections add visual interest without changing the basic technique.
Simple Box Braids
Box braids take time to install, especially if you’re creating lots of small sections, but they’re easy to live with once they’re done.
If low maintenance is your priority, consider medium or larger box braids rather than very small ones.
Keep the length manageable as well.
Shoulder-to-chest-length box braids provide enough length for basic styling without requiring you to deal with waist-length extensions every day.
Knotless Braids
Knotless braids are another popular option when you want a hairstyle that doesn’t require much morning styling.
Once installed, you can simply wear them down most days.
Medium knotless braids are particularly practical because they provide plenty of movement without requiring hundreds of tiny sections.
A center or side part can completely change the look without actually restyling the braids.
Short or Medium Braided Bob
A braided bob is one of the easiest extension styles to manage because there’s simply less length.
The braids can stop around the chin, shoulders, or collarbone depending on the look you want.
Shorter braids are easier to gather at night and less likely to get caught under clothing or bag straps.
You still get the appearance of individual braids without managing a huge amount of hair.
Crochet Braids
Crochet techniques can simplify the installation of many protective styles.
The natural hair is typically braided underneath before pre-looped or loose crochet hair is attached.
Depending on the hair used, crochet methods can create:
- Braids
- Twists
- Faux locs
- Curly styles
- Textured styles
They’re useful if you want the appearance of lots of individual pieces without installing every section in the same way as traditional braids or twists.
Crochet Twists
Pre-twisted crochet hair can make a twist style considerably quicker to install.
The natural hair remains braided underneath, while the finished twists provide length and texture.
Choose a manageable length and amount of hair if comfort is important.
Adding more hair doesn’t automatically make the finished style better.
Passion Twists
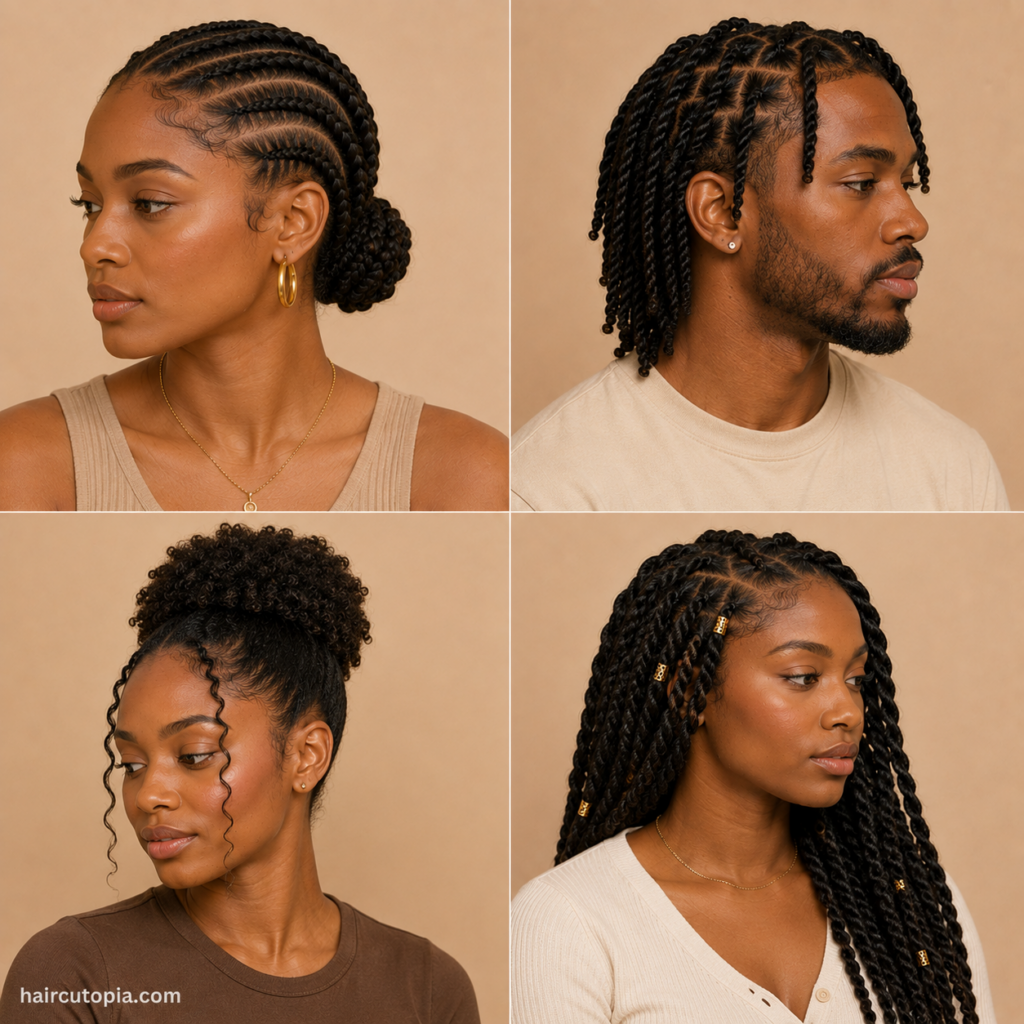
Passion twists have a soft, slightly undone texture that makes them forgiving.
Unlike styles where every strand needs to look perfectly uniform, a little variation actually works in their favor.
Medium-length passion twists are particularly easy to wear because they provide volume without excessive length.
Most days, you can simply change your part or pull a few twists away from your face.
Easy Faux Locs
Faux locs can look elaborate, but some installation methods are relatively straightforward—especially crochet-based versions.
Short and medium faux locs are generally easier to manage than extra-long styles.
Once installed, they don’t require complicated daily styling. Wear them loose, pull the front back, or use a simple side part.
Headband-Friendly Flat Twists
Sometimes the easiest protective hairstyle is one you don’t have to make perfect.
Create simple flat twists or cornrows and add a wide headband or scarf.
The accessory can soften the front of the style while keeping everything practical and contained.
This can be especially useful between more elaborate hairstyles or when you’re trying to give your hair a break from extensions.
Easy Protective Hairstyles Without Extensions
Extensions aren’t necessary for protective styling.
In fact, skipping added hair can make the entire process simpler. There’s no extension hair to buy, match, install, or remove later.
Easy options using natural hair include:
- Two-strand twists
- Mini twists
- Chunky twists
- Flat twists
- Cornrows
- Bantu knots
- Tucked buns
- Braided crowns
- Rolled updos
- Low twisted buns
Which one is easiest will depend on your natural length and which techniques you’re comfortable doing.
If you can twist but struggle with braiding, focus on twist-based styles. There’s no rule saying protective styling has to involve complicated braiding.
Easy Protective Hairstyles for Short Natural Hair
Short hair can actually simplify protective styling.
You have less hair to section, detangle, and manipulate, although your options depend on how much length you have to work with.
Consider:
- Small two-strand twists
- Flat twists
- Simple cornrows
- Bantu knots
- Short extension braids
- Short twists with added hair
Scalp-based styles can be especially useful when your natural hair isn’t long enough for larger buns or updos.
Avoid forcing very short sections into a style that requires excessive tension to stay secure.
Easy Protective Hairstyles for Medium Hair
Medium natural hair gives you considerably more flexibility.
Two-strand twists and mini twists are obvious choices, but you can also start experimenting with tucked styles and simple updos.
Try flat twisting the front and putting the remaining hair into twists, or gather longer twists into a low ponytail.
Medium hair can also be long enough for a tucked bun without extensions.
This is where protective styling starts becoming especially versatile because you have enough length to create shape without necessarily adding more hair.
Easy Protective Hairstyles for Long Natural Hair
Long natural hair gives you plenty of options, but that doesn’t mean you need to do something complicated.
Large two-strand twists can be much easier than installing dozens of small braids.
You can also create:
- Low twisted buns
- Braided buns
- Tucked rolls
- Flat-twist updos
- Braided crowns
- Mini twists
- Large cornrows
Long hair can be folded, tucked, or pinned in ways that aren’t possible at shorter lengths.
Use that flexibility rather than assuming you need extensions simply because you’re choosing a protective style.
Easy Protective Hairstyles for Beginners
If you’re completely new to protective styling, don’t start with the most elaborate hairstyle you can find.
Learn one basic technique first.
Two-strand twists are often a good starting point because the hand movement is relatively straightforward. Once you’re comfortable sectioning and twisting, you can experiment with smaller sections and different parting patterns.
A simple beginner progression might look like this:
- Learn basic two-strand twists.
- Practice creating clean sections.
- Try chunky flat twists.
- Experiment with simple straight-back cornrows.
- Combine scalp twists with individual twists.
- Move into more detailed styles when you’re comfortable.
Your first attempt doesn’t have to look salon-perfect.
Like any styling skill, clean parting and consistent tension get easier with practice.
Easy Protective Hairstyles for Work
For work, you may want something that’s easy to style quickly in the morning.
Mini twists, medium knotless braids, flat twists, shoulder-length box braids, and simple cornrows can all work well.
You can keep things understated with:
- A middle part
- A side part
- A low ponytail
- A simple half-up style
- A low bun
- Hair pinned away from the face
You don’t need to completely restyle your hair every morning.
If you can remove your bonnet, make a few small adjustments, and get on with your day, the protective style is doing its job.
Easy Protective Hairstyles for Working Out
Exercise adds another consideration: sweat.
Styles that stay relatively secure and can be kept away from the face are usually easiest for an active routine.
Cornrows and flat twists are particularly practical because the hair stays close to the scalp.
Braids and individual twists can also work well if they’re light enough to gather comfortably.
After exercising, give your scalp an opportunity to dry rather than immediately covering damp hair for the rest of the day.
How to Choose an Easy Protective Hairstyle
Before deciding on a style, think about the entire process rather than just the finished photo.
Consider Installation Time
Ask yourself how long you’re actually willing to spend installing the style.
If two hours already sounds like too much, mini braids probably aren’t going to feel “easy.”
Chunky twists or a simple tucked style may make much more sense.
Think About Daily Maintenance
A hairstyle that takes longer to install may still save you time overall if it requires almost no daily styling afterward.
This is why braids and twists remain so popular.
Installation is the investment. Easier mornings are the payoff.
Consider Takedown
Don’t forget that every protective hairstyle eventually has to come out.
Hundreds of tiny braids can take a long time to remove.
If you want the entire process to stay simple, choose larger sections and a manageable amount of extension hair.
Think About Weight
Lightweight styles are generally easier to sleep in, exercise with, wash, and wear throughout the day.
If you’re adding extensions, you don’t necessarily need as much hair as possible.
Comfort matters.
How to Make Protective Styling Easier
A little preparation can save a lot of frustration.
Detangle Before You Start
Working with tangled hair makes sectioning and styling unnecessarily difficult.
Gently detangle before installing braids, twists, or other protective styles.
Gather Everything First
If you’re styling your own hair, get your tools and products together before you start.
Depending on the style, you might need:
- Comb
- Sectioning clips
- Hair ties
- Bobby pins
- Styling product
- Extension hair
- Scarf or bonnet
There’s nothing fun about realizing the clips you need are in another room when half your head is already sectioned.
Don’t Obsess Over Perfect Parts
Clean sections can make a hairstyle look polished, but every part doesn’t have to be mathematically perfect.
Unless the parting pattern is a major feature of the hairstyle, minor variations usually disappear once the hair is finished.
Work in Larger Sections
Larger sections generally mean fewer braids or twists.
That makes installation and takedown faster.
The tradeoff is that larger styles may not last as long as smaller ones, but that can be perfectly reasonable if convenience is your priority.
How to Maintain Easy Protective Hairstyles
An easy hairstyle shouldn’t require a complicated maintenance routine.
Protect Your Hair at Night
A satin or silk bonnet, scarf, or pillowcase can help reduce friction while you sleep.
This is one of the simplest ways to keep twists and braids looking neater.
Keep Your Scalp Comfortable
Your scalp still needs attention while your hair is protected.
Sweat, oil, and styling products can build up around the roots.
Cleanse as needed based on your scalp, hairstyle, and activity level rather than assuming protective hair shouldn’t be washed.
Avoid Constant Restyling
If you’re pulling your protective style into a different tight ponytail every morning, you’re still manipulating your hair quite a bit.
Let the style be simple.
Wear it down, use loose accessories, and avoid repeatedly creating tension around the same areas.
Use Products With a Purpose
You don’t need a cabinet full of products to maintain a protective hairstyle.
Use what your hair and scalp actually need and avoid repeatedly layering heavy products around the roots.
How Long Should You Keep an Easy Protective Hairstyle?
There isn’t one timeline that applies to every style.
Chunky natural twists might be worn for several days, while professionally installed braids or crochet styles may last several weeks.
Instead of focusing entirely on the calendar, pay attention to your hair and scalp.
It may be time for takedown if:
- The style becomes uncomfortable
- Your roots are heavily tangled
- There’s significant product buildup
- Your scalp is persistently irritated
- Extensions are slipping or pulling
- The hairstyle is becoming difficult to clean
Getting an extra week out of a style isn’t worth making your natural hair harder to manage afterward.
Common Protective Styling Mistakes to Avoid
Simple doesn’t automatically mean harmless.
Watch out for these common mistakes:
- Making braids or twists excessively tight.
- Using too much extension hair.
- Pulling the hairline tightly to make a style look “neater.”
- Ignoring persistent pain or scalp irritation.
- Constantly restyling protective hair into tight updos.
- Leaving the style installed for too long.
- Allowing heavy buildup around the roots.
- Rushing through takedown.
- Trying complicated techniques before mastering the basics.
The goal is to make your hair routine easier while reducing unnecessary stress on your hair.
Frequently Asked Questions
What is the easiest protective hairstyle?
Two-strand twists are one of the easiest options for many people because the technique is relatively simple and doesn’t require extensions.
A low tucked bun can be even quicker if your natural hair is long enough.
What protective hairstyle is easiest for beginners?
Chunky two-strand twists are a good starting point.
You only need to learn a basic twisting motion, and larger sections make the process faster than mini twists or small braids.
What are easy protective hairstyles without braids?
Try two-strand twists, flat twists, Bantu knots, tucked buns, rolled updos, or twist-based crowns.
Protective styling doesn’t have to involve braiding.
What are easy protective hairstyles without extensions?
Mini twists, chunky twists, flat twists, cornrows, Bantu knots, braided crowns, and tucked buns can all be created with natural hair.
Your available options depend primarily on your natural length and texture.
Which protective hairstyle requires the least daily maintenance?
Professionally installed braids, twists, and certain crochet styles can require very little daily styling once they’re installed.
You’ll still need to care for your scalp and protect the hairstyle while sleeping.
Are protective hairstyles supposed to hurt?
No. A protective hairstyle shouldn’t require you to tolerate persistent pain.
Excessive tightness, headaches, bumps, or significant pulling around the hairline can indicate too much tension.
Do easy protective hairstyles help hair grow?
A protective hairstyle doesn’t directly increase how quickly your hair grows.
It can, however, reduce some of the daily manipulation and friction that may contribute to breakage. Reducing breakage can help with length retention over time.
Can I wash my hair in a protective style?
Many protective styles can be gently cleansed while installed.
The appropriate technique and frequency depend on your hair, scalp, lifestyle, and the style itself. Focus on keeping your scalp comfortable without aggressively disturbing the hairstyle.
Final Thoughts
Easy protective hairstyles don’t need to be boring, and they definitely don’t need to take all day.
Two-strand twists can be done with your natural hair. Flat twists and simple cornrows keep everything neatly contained. A tucked bun can take minutes. And if you don’t mind investing more time upfront, knotless braids, box braids, crochet twists, and faux locs can make your daily routine remarkably simple afterward.
The trick is deciding what “easy” actually means for you.
Maybe you want the fastest possible installation. Maybe you’d rather spend several hours styling once and barely touch your hair for the next few weeks. Or maybe you just want something you can realistically do yourself without watching twelve tutorials first.
All of those count.
Choose a style that works with your skill level, natural hair, schedule, and lifestyle. Keep the tension comfortable, don’t overload your hair with unnecessary weight, and remember that a protective hairstyle should simplify your routine—not make it more complicated.