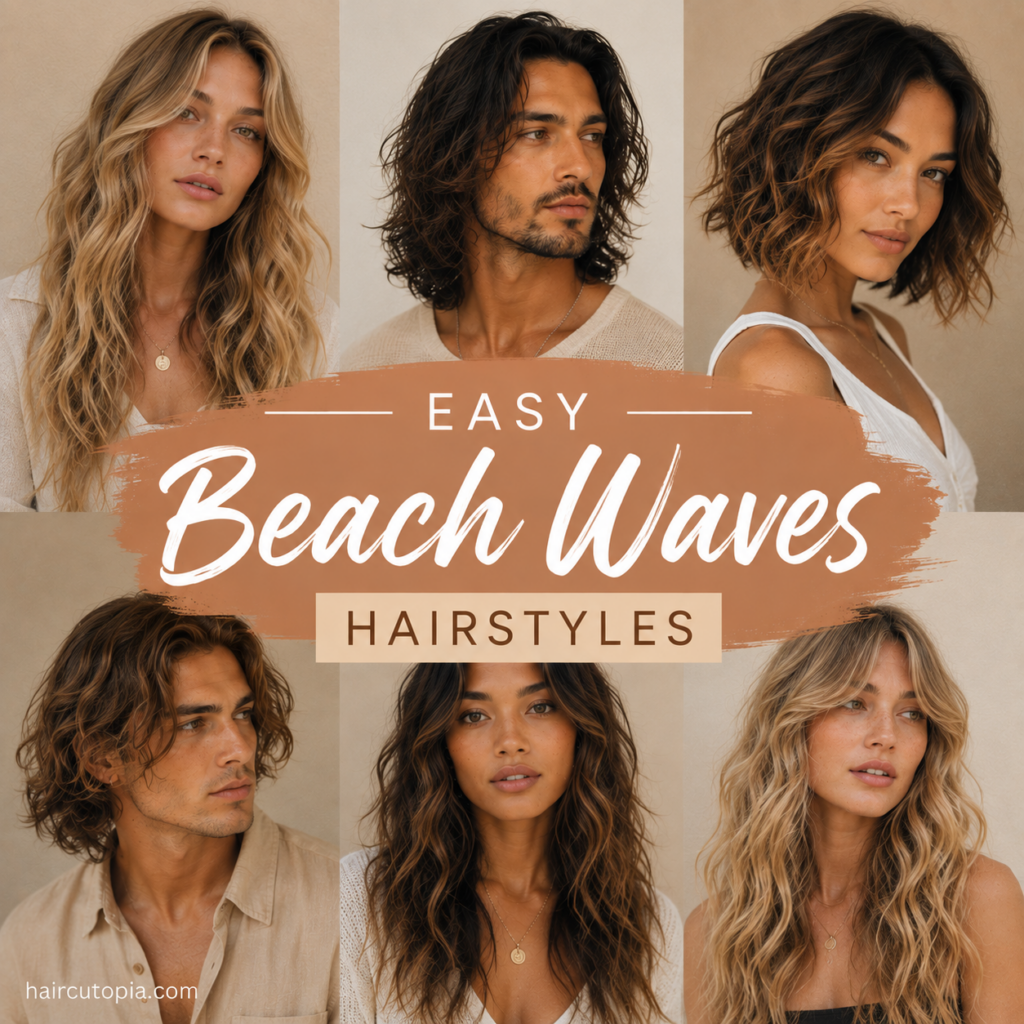
Beach waves are one of those hairstyles that somehow look better when they’re not perfect. A bend going the wrong direction? Fine. A few straighter pieces? Even better. The whole point is relaxed texture and natural-looking movement rather than carefully arranged curls.
That’s also what makes beach waves surprisingly practical.
You don’t need waist-length hair, an elaborate styling routine, or a collection of professional tools to get the look. Beach waves can work on short bobs, medium-length cuts, long layers, and plenty of naturally textured hair. Depending on your hair type, you may even be able to skip the hot tools completely.
Whether you have five minutes to refresh yesterday’s waves or want something a little more polished for the evening, these easy beach waves hairstyles offer plenty of inspiration without making hairstyling feel like a project.
What Makes Beach Waves Easy to Style?
Unlike defined curls, beach waves aren’t supposed to look identical from one section to the next.
That means you can:
- Leave some pieces straighter
- Alternate the direction of your waves
- Work with your natural texture
- Skip sections that already have movement
- Style only the pieces around your face
- Refresh yesterday’s waves instead of starting over
A little imperfection actually helps.
The easiest version will depend on your haircut and natural texture, but the general rule is simple: work with your hair instead of trying to completely reshape it.
1. Classic Loose Beach Waves
Classic loose waves are a good place to start because they don’t require an elaborate technique.
Keep the roots relatively smooth and create broad bends through the middle of the hair. Leave the ends slightly straighter.
Once the hair cools, gently separate the waves with your fingers.
Don’t worry about making every section identical. Slight variation gives the hairstyle its relaxed appearance.
2. Five-Minute Face-Framing Waves
You don’t always need to style your entire head.
If you’re short on time, concentrate on the sections people notice most: the hair around your face and the top layer.
Add a few loose bends to those pieces while leaving the underneath relatively untouched.
Blend everything together with your fingers.
This technique works especially well when your hair already has a little natural movement or you’re refreshing second-day hair.
3. Easy Beach Waves With a Center Part
A center part immediately gives loose waves a clean shape.
Instead of creating lots of volume at the roots, keep the top relatively smooth and begin the waves farther down.
Direct the front sections slightly away from your face.
This simple combination can make even loosely styled waves look intentional.
4. Side-Parted Beach Waves
Want to change the look without changing your styling technique? Move your part.
A side part naturally creates more volume on one side. Add a few waves around the face and through the top layers, then tuck the lighter side behind your ear if you like.
It’s an easy way to make casual waves feel a little more polished.
5. Tousled Beach Waves
Tousled waves are ideal when you don’t want to worry about perfection.
Use different-sized sections and alternate the direction of your waves.
Leave a few pieces relatively straight.
Once everything has cooled, separate the texture gently with your fingers. A small amount of texturizing product can help create more definition if your hair needs it.
The finished style should move rather than stay perfectly in place.
6. Easy Beach Waves With Straight Ends
Leaving your ends straight doesn’t just create a modern look. It can also make beach waves easier to style.
Instead of curling each section from top to bottom, concentrate on the middle.
This reduces the chance of creating tight ringlets and keeps the overall hairstyle relaxed.
It’s particularly useful on medium and long hair where there’s plenty of length for the waves to develop.
7. Barely-There Beach Waves
Sometimes all you need is a bend or two.
Barely-there waves are great for naturally straight hair when you want subtle movement without looking obviously curled.
Use larger sections and create gentle bends through selected areas.
You don’t necessarily need to wave every piece.
The goal is for your hair to look like it naturally dried with a little texture.
8. Easy Beach Waves on Short Hair
Short hair doesn’t need a full curl pattern to look beachy.
On a bob or other short cut, concentrate on creating small bends through the middle sections. Keep the ends slightly straighter.
Alternate directions where possible.
Because there’s less hair to work through, short beach waves can also be relatively quick once you find a technique that works with your cut.
9. Easy Beach Waves on Medium Hair
Medium hair sits in an ideal range for beach waves.
There’s enough length for visible movement without having so much hair that styling takes forever.
Create loose bends through the mid-lengths, leave the ends softer, and separate everything once it has cooled.
Shoulder-length cuts and lobs are especially well suited to this approach.
10. Easy Beach Waves on Long Hair
Long hair can take more time, but you don’t necessarily need to style every strand.
Focus on the sections around your face and the visible outer layers. If the underneath already has movement, leave it alone.
Using larger sections can also speed things up while creating softer waves.
Just remember that long hair has more weight, so very loose waves may relax faster.
11. Beach Waves With Curtain Bangs
Curtain bangs make an easy addition to beach waves because they naturally blend into the surrounding hair.
Style the bangs gently away from your face rather than curling them tightly.
Continue that movement into your face-framing sections.
The result looks cohesive without requiring the bangs to match every other wave.
12. Beach Waves With Face-Framing Layers
If your haircut already includes face-framing layers, let them do some of the work.
Add soft bends to those shorter pieces and direct them slightly outward.
You can keep the remaining hair much looser.
This puts movement where it’s most visible and can make the entire hairstyle look styled even when you’ve only worked on a handful of sections.
13. Beach Waves With a Deep Side Part
For an easy evening variation, create a deeper side part.
The heavier side gains natural volume, while the opposite side can be tucked back.
You don’t need to redo your waves.
Changing the part and adjusting a few front sections can be enough to transform daytime beach waves into a more dramatic hairstyle.
14. Beach Waves With One Side Tucked Behind the Ear
This might be one of the simplest styling tricks on the list.
Create your waves, then tuck one side behind your ear.
That’s it.
The asymmetrical shape immediately makes the hairstyle feel more intentional. It’s also useful for showing off earrings or keeping shorter layers away from your face.
15. Easy Half-Up Beach Waves
Already have loose waves? Turn them into a half-up hairstyle.
Gather the upper section of your hair and secure it loosely at the back.
You can use:
- A small hair tie
- A barrette
- A claw clip
- Bobby pins
- A decorative clip
Leave a couple of face-framing pieces loose if you want a softer finish.
This is especially useful when your roots aren’t cooperating but the rest of your waves still look good.
16. Half-Up Bun With Beach Waves
A small half-up bun works particularly well with medium and long beach waves.
Gather some of the hair around the crown and loosely twist it into a bun.
Avoid pulling everything too tightly.
The contrast between the casual bun and loose waves underneath creates a relaxed style that doesn’t require much precision.
17. Claw Clip With Loose Beach Waves
A claw clip can turn loose waves into a completely different hairstyle in seconds.
Pull some or most of your hair back and secure it while allowing textured pieces to fall naturally.
For a softer look, leave a few strands around your face.
This works especially well with second-day waves because the existing texture gives the clipped-up hair more shape.
18. Beach Waves With a Relaxed Ponytail
If your waves are starting to fall, don’t immediately reach for the curling iron.
Try a ponytail instead.
Gather your hair loosely and allow the existing texture to create movement through the ponytail.
Pull out a couple of face-framing sections if you like.
You can also gently loosen the hair around the crown for a less structured finish.
19. Low Ponytail With Beach Waves
A low ponytail gives beach waves a slightly more polished feel.
Instead of pulling your hair tightly against the scalp, keep some softness around the crown.
Let the waves remain visible through the ponytail.
For a simple finishing touch, wrap a small piece of hair around the elastic and secure it underneath.
20. Loose Braid With Beach Waves
Beach waves make a great starting texture for braids.
Because the hair already has movement, the braid tends to look fuller and less rigid.
Create a loose three-strand braid and allow a few pieces to fall naturally.
This works particularly well with layered hair because you don’t have to force every shorter piece into the braid.
21. Easy Beach Waves With Natural Texture
If your hair already has some wave, don’t automatically straighten it before recreating texture.
Work with what you have.
Apply an appropriate lightweight wave-enhancing product to damp hair and gently scrunch upward.
Allow it to air-dry or use a diffuser if that works for your hair type.
Once completely dry, separate sections that have clumped together too much.
Your natural wave pattern doesn’t need to be perfectly symmetrical to create a beachy result.
22. Air-Dried Beach Waves
Sometimes the easiest styling method is simply letting your hair dry.
This works best if your hair naturally develops some texture when it’s wet.
After washing, apply your preferred lightweight styling product and gently encourage the natural wave pattern.
Try not to repeatedly touch your hair while it dries.
Once dry, you can refine a couple of sections around your face if necessary rather than styling everything.
23. Heatless Braided Beach Waves
Braids are a simple way to experiment with heatless waves.
Start with slightly damp hair and create one or more loose braids.
Allow your hair to dry completely before taking them out.
Then gently separate the waves with your fingers.
For looser waves, use larger sections. Smaller braids generally create tighter texture.
The exact result depends on your hair type, so you may need to experiment with how tightly you braid.
24. Heatless Twisted Beach Waves
If braiding isn’t your thing, try twists.
Divide slightly damp hair into sections and twist them before allowing everything to dry.
Once the hair is completely dry, release the twists and separate the resulting texture.
Larger twists tend to produce softer movement.
This can be particularly useful for hair that doesn’t stay neatly inside a braid.
25. Overnight Beach Waves
Overnight styling can save time in the morning.
Depending on your hair length and texture, you can use loose braids, twists, or another comfortable heatless method before bed.
The important part is making sure your hair isn’t soaking wet.
In the morning, release the sections and gently reshape the waves with your fingers.
You may only need to touch up the pieces around your face.
26. Second-Day Beach Waves
Beach waves often improve overnight.
Freshly styled waves can relax into softer, more natural-looking bends by the following day.
Instead of starting over:
- Check which sections actually need attention.
- Refresh the roots if necessary.
- Restyle only flattened pieces.
- Adjust the front sections.
- Gently blend everything with your fingers.
It can take a fraction of the time required for a full restyle.
27. Third-Day Beach Waves Updo
When your waves have reached the point where wearing them completely down isn’t working anymore, use the texture to your advantage.
Pull the hair into a loose bun, ponytail, twist, or clipped-up style.
Leave selected pieces around the face.
Slightly older waves often provide enough texture to make simple updos look fuller and more interesting.
28. Polished Easy Beach Waves
Easy doesn’t necessarily mean messy.
For a cleaner version, use larger sections and create smoother bends.
Keep flyaways under control while allowing the hair to move naturally.
This variation works nicely for:
- Work
- Dinner
- Dates
- Parties
- Weddings
- Photos
- Special occasions
You don’t need complicated styling. A slightly cleaner finish can completely change the mood.
29. Easy Beach Waves With Highlights
If you have highlights, beach waves can make your hair color do some of the styling work for you.
As the hair bends, lighter and darker pieces become more noticeable.
This creates the appearance of extra texture and dimension even when the actual waves are subtle.
Highlights, balayage, babylights, and face-framing color can all benefit from the effect.
30. Quick Beach Wave Refresh
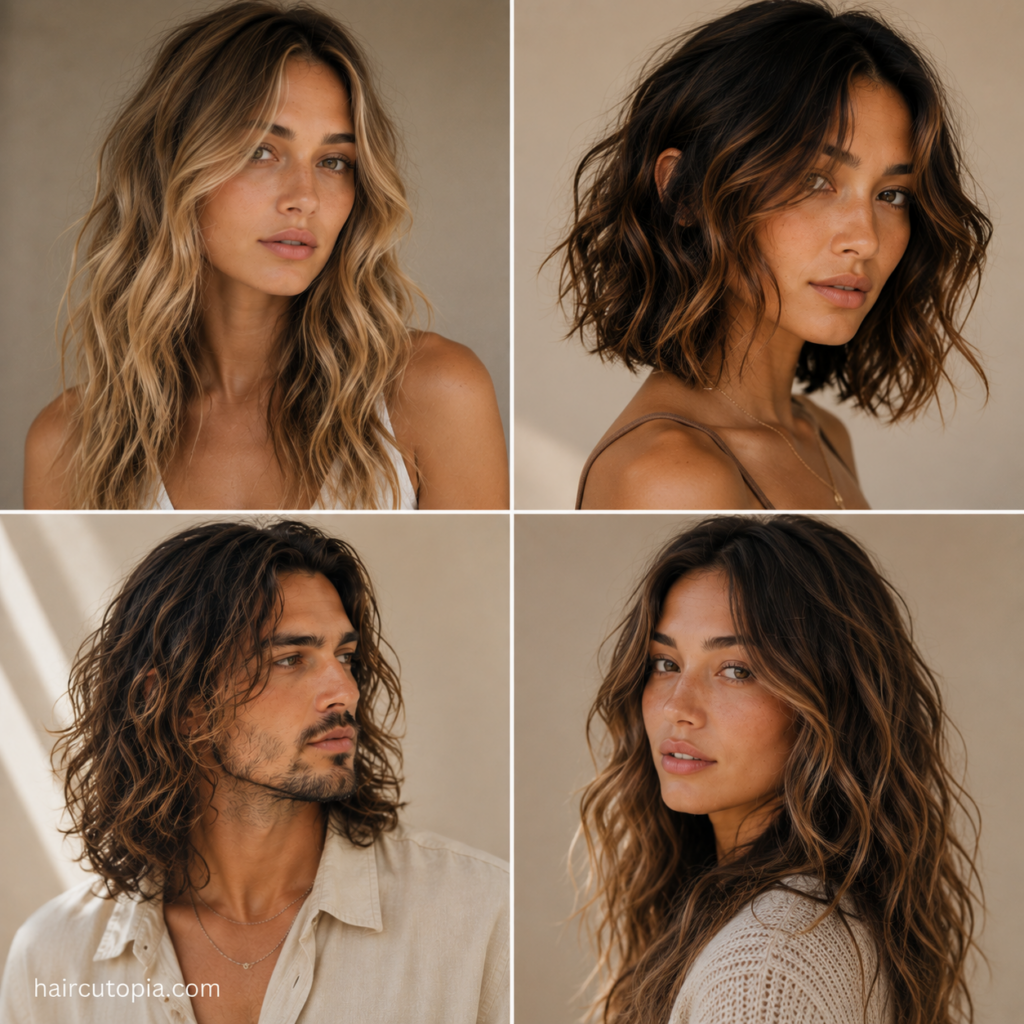
Sometimes you already have the hairstyle—you just need to bring it back to life.
Instead of completely redoing your hair, identify the pieces that have gone flat.
Usually these are around the face, crown, or outermost layer.
Restyle those sections and leave everything else alone.
It’s one of the easiest ways to reduce both styling time and unnecessary heat exposure.
The Easiest Way to Create Beach Waves With a Curling Iron
You don’t need to curl every section perfectly.
For an easy approach:
- Start with completely dry hair.
- Apply heat protectant according to the product directions.
- Divide your hair into a few manageable sections.
- Take medium-sized pieces rather than tiny ones.
- Curl primarily through the middle.
- Leave the ends slightly straighter.
- Alternate directions as you move around your head.
- Style the front sections away from your face.
- Let everything cool.
- Separate the waves with your fingers.
If a section already has a good natural bend, consider leaving it alone.
Less styling can sometimes create a better result.
How to Make Easy Beach Waves With a Flat Iron
A flat iron can create loose bends without producing obvious spiral curls.
Take a section of hair and gently rotate the iron while moving downward.
For an S-wave effect, change the direction of the bend as you continue through the section.
Don’t hold the iron in one place for too long.
If you end up with a sharp crease, keep the tool moving more continuously on your next section.
Easy Beach Waves Without Heat
Heatless waves can be especially convenient when you’re willing to let time do the styling for you.
Options include:
- Loose braids
- Twists
- Overnight styling
- Working with natural waves
- Air-drying with a wave-enhancing product
Heatless methods aren’t always as predictable as hot tools.
That’s not necessarily a disadvantage. Slightly uneven texture can create exactly the relaxed finish you’re looking for.
How to Make Beach Waves Look More Natural
If your beach waves keep turning into traditional curls, the problem may be too much consistency.
Try introducing a little variation.
Alternate Directions
Changing directions prevents neighboring curls from combining.
Leave the Ends Straighter
This immediately creates a less traditional curl shape.
Don’t Start Every Wave at the Same Height
Some sections can begin closer to the roots while others start around cheek or jaw level.
Use Different-Sized Sections
They don’t need to be dramatically different. Small variations are enough.
Leave Some Hair Alone
If a section already has movement, you don’t necessarily need to restyle it.
Wait Before Separating the Waves
Allow heat-styled hair to cool before breaking apart the texture.
Best Products for Easy Beach Waves
You don’t need a huge collection of products.
A few well-chosen options are usually enough.
Heat Protectant
Use heat protection when styling with hot tools and follow the directions for the specific product.
Texture Spray
A lightweight texture spray can add separation and create a slightly more lived-in finish.
Sea Salt Spray
Sea salt sprays can encourage texture, particularly on naturally wavy hair. Some formulas can feel drying, so choose one suited to your hair.
Volumizing Mousse
Fine or flat hair may benefit from lightweight volume before styling.
Wave-Enhancing Product
Naturally textured hair may need definition more than additional curling.
Flexible-Hold Hairspray
If your waves tend to disappear quickly, flexible hold can help without freezing the hair in place.
Easy Beach Waves for Fine Hair
Fine hair can look noticeably fuller once you introduce a little texture.
Keep your products lightweight and avoid loading the roots with heavy oils or creams.
You can also concentrate on creating volume around the crown rather than making every wave more dramatic.
Sometimes a handful of subtle bends creates more flattering fullness than tightly styling the entire head.
Easy Beach Waves for Thick Hair
With thick hair, the goal may be controlling volume rather than creating more of it.
Keep the roots smoother and focus the waves through the middle and lower sections.
You also don’t necessarily need to style every strand.
If your natural texture already provides movement underneath, concentrate your efforts on the visible outer sections.
Easy Beach Waves for Straight Hair
Straight hair may require a little more encouragement to hold loose waves.
Start with completely dry hair when using hot tools and allow each section to cool before touching it.
You can also make your initial waves slightly more defined than your desired final result.
They’ll often relax naturally as you wear them.
How to Make Easy Beach Waves Last Longer
You don’t want an easy hairstyle to require constant maintenance throughout the day.
To improve staying power:
- Start with dry hair when heat styling
- Avoid using excessive product
- Allow waves to cool before separating them
- Don’t constantly run your hands through your hair
- Use lightweight hold if needed
- Refresh individual sections instead of everything
- Work with your natural texture whenever possible
Hair type matters. Some hair holds a wave easily, while other textures relax quickly.
Adjust your routine rather than simply adding more hairspray.
Common Mistakes That Make Beach Waves Harder Than They Need to Be
Sometimes beach waves become complicated because we’re trying too hard.
Curling Every Strand
You may not need to.
Styling visible sections can sometimes create the same overall effect in much less time.
Using Tiny Sections
Smaller sections take longer and often produce tighter curls.
Trying to Make Both Sides Identical
Beach waves don’t require symmetry.
Using Too Much Product
More product can mean heavier hair and less movement.
Curling the Ends Too Much
Keeping them straighter makes the finished style look more relaxed.
Restyling Your Entire Head the Next Day
Refresh only what actually needs refreshing.
Your hair—and your morning schedule—will probably appreciate it.
Which Easy Beach Waves Hairstyle Should You Try?
Start with the amount of time you’re willing to spend.
If you only have a few minutes, style your face-framing pieces and top layer.
If you’re starting with damp hair, try air-drying, braids, or twists.
If you have second-day waves, refresh individual sections.
For work or an evening out, try smoother waves with a center or side part.
And when your waves are several days old, turn them into a ponytail, braid, half-up style, or loose updo.
Beach waves don’t need to be one hairstyle. Think of them as a base texture you can keep changing.
Final Thoughts on Easy Beach Waves Hairstyles
The easiest beach waves aren’t necessarily the ones created with a particular tool or technique.
They’re the ones that work with your hair.
Maybe that means styling only six or seven visible sections. Maybe your natural texture needs nothing more than a little definition. Or maybe overnight braids give you exactly the movement you want without touching a curling iron.
Don’t get caught up trying to create identical waves.
Leave some pieces straighter. Let others bend more. Work with yesterday’s texture instead of automatically washing and starting over.
Beach waves are supposed to feel effortless. Giving yourself permission to make them a little imperfect is often what makes the hairstyle easier—and better-looking—in the first place.
Related Posts
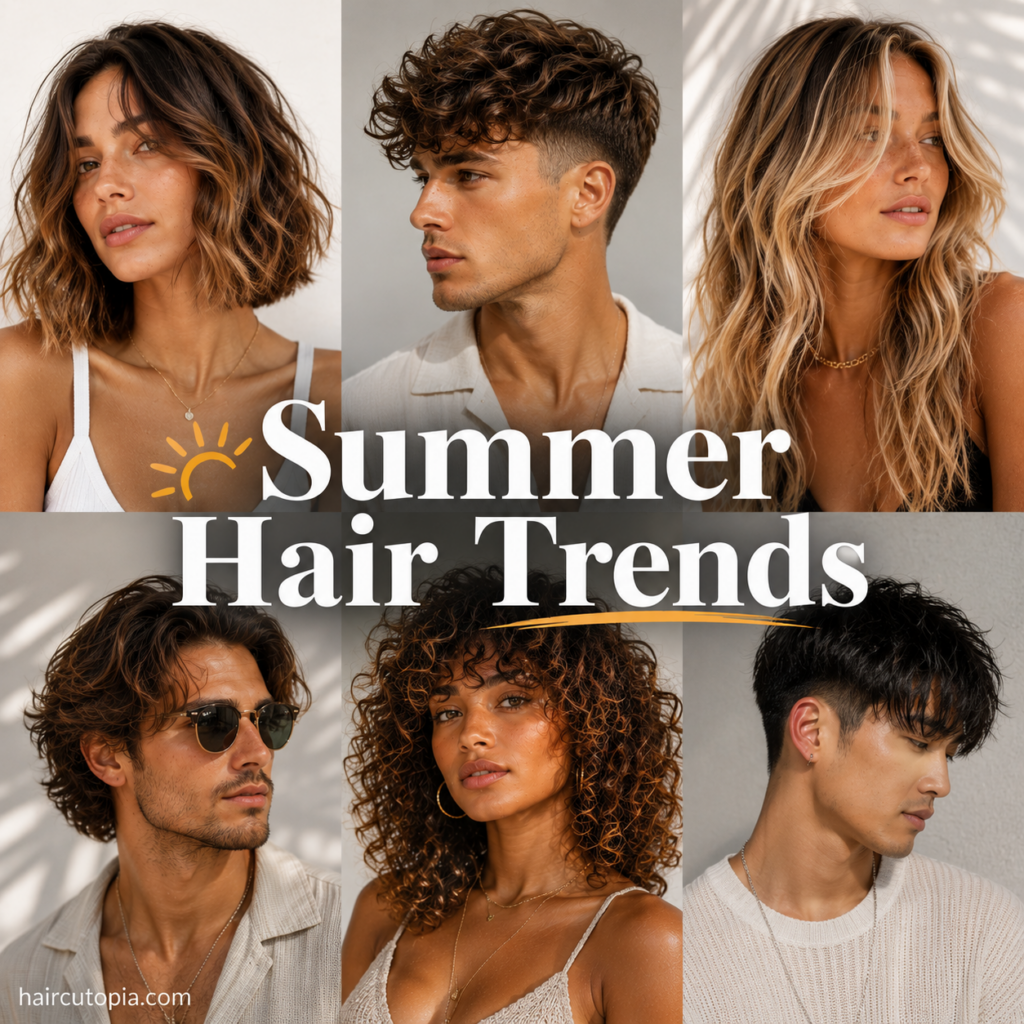 Summer Hair Trends: Fresh Haircuts, Colors, and Easy Styles for Warmer Weather
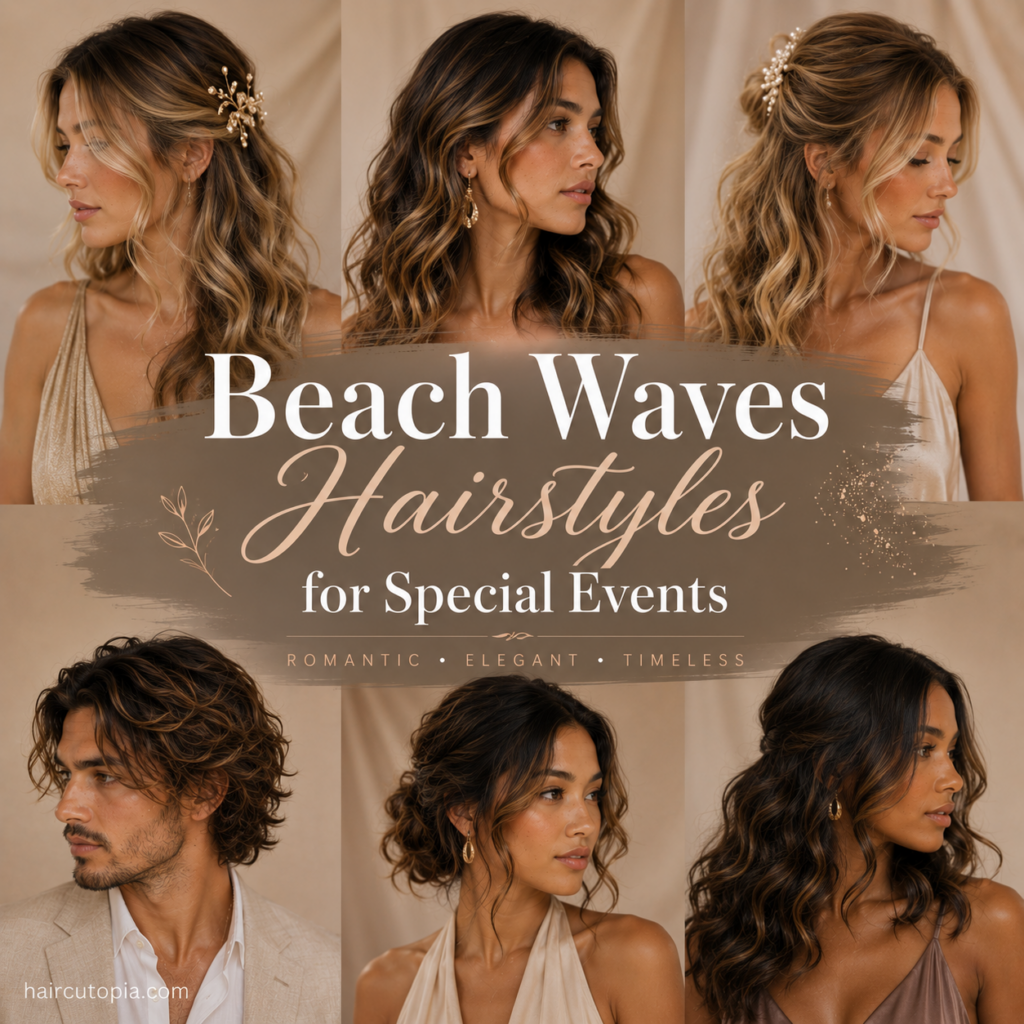 Beach Waves Hairstyles for Special Events: Elegant Looks for Weddings, Parties, and More
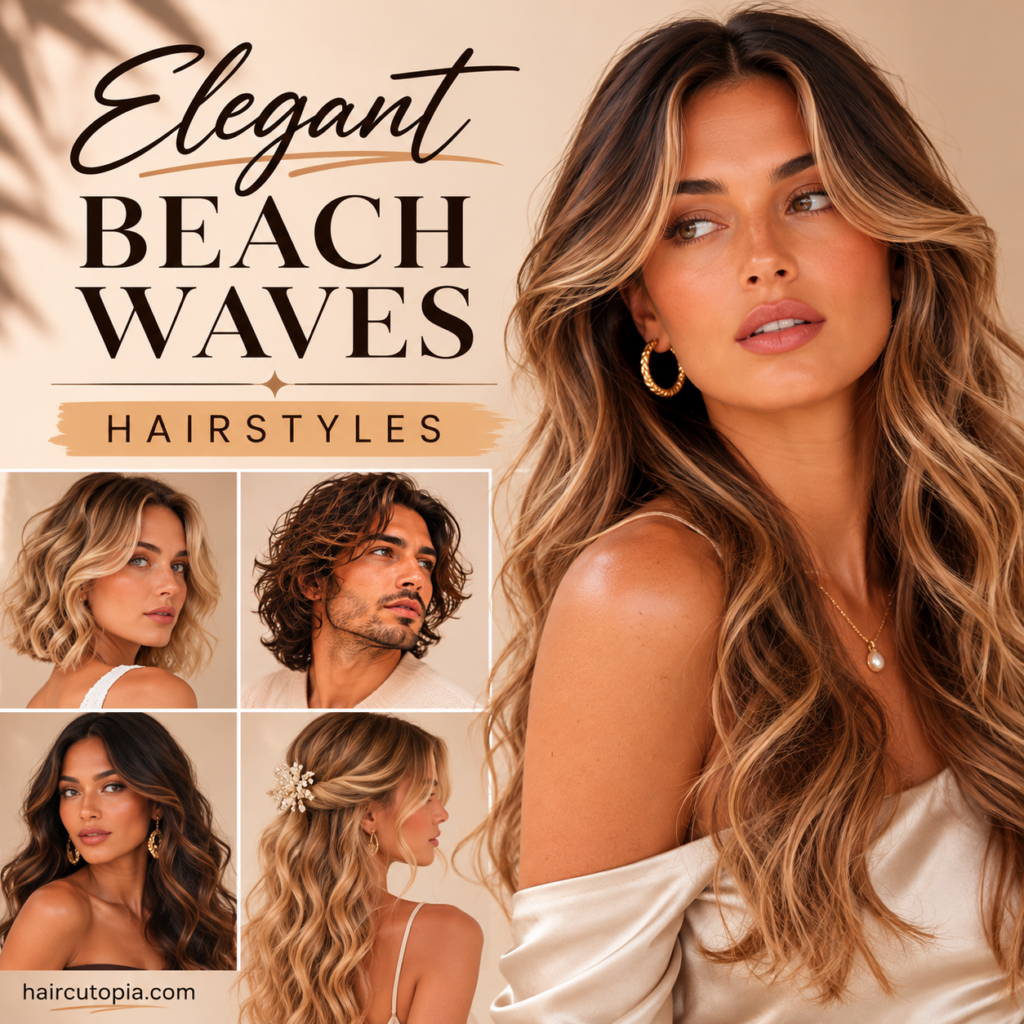 Elegant Beach Waves Hairstyles: Polished, Sophisticated Waves for Any Occasion
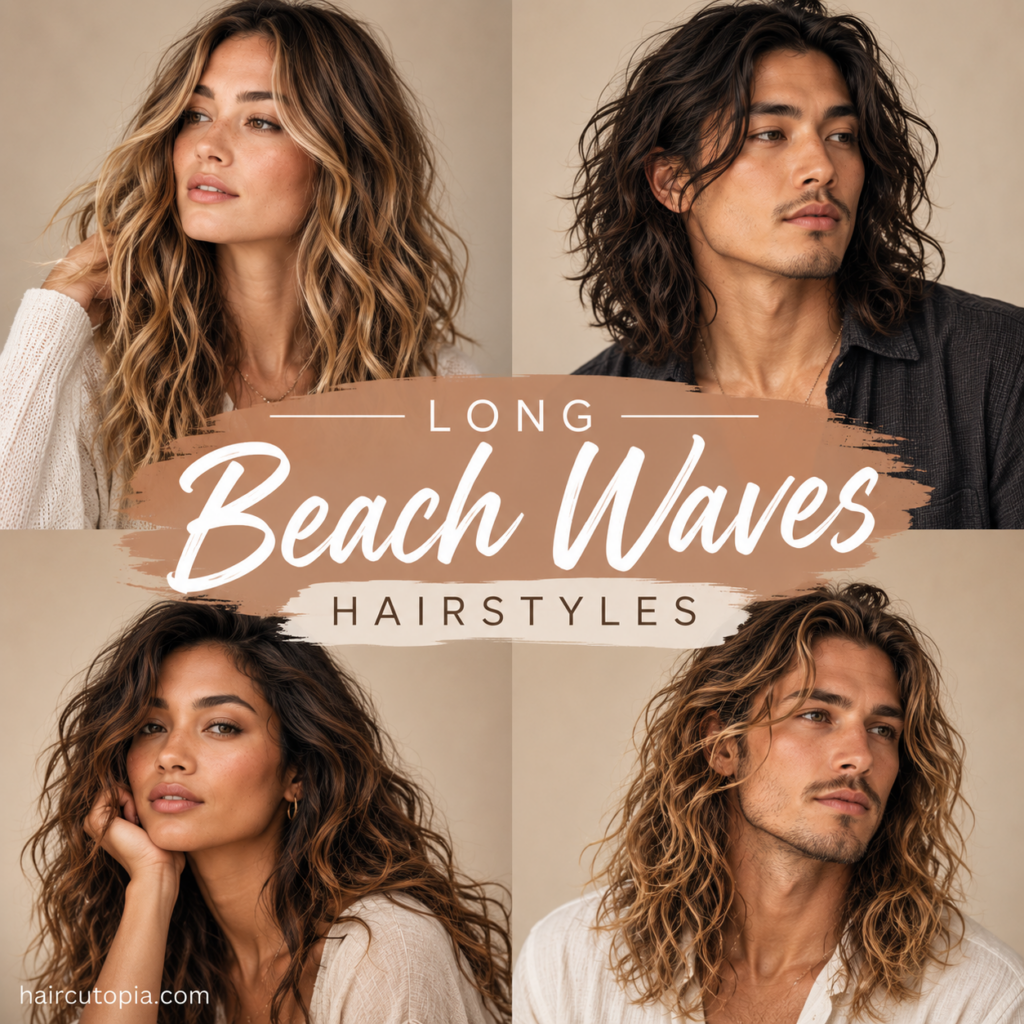 Long Beach Waves Hairstyles: Effortless, Tousled Looks for Long Hair