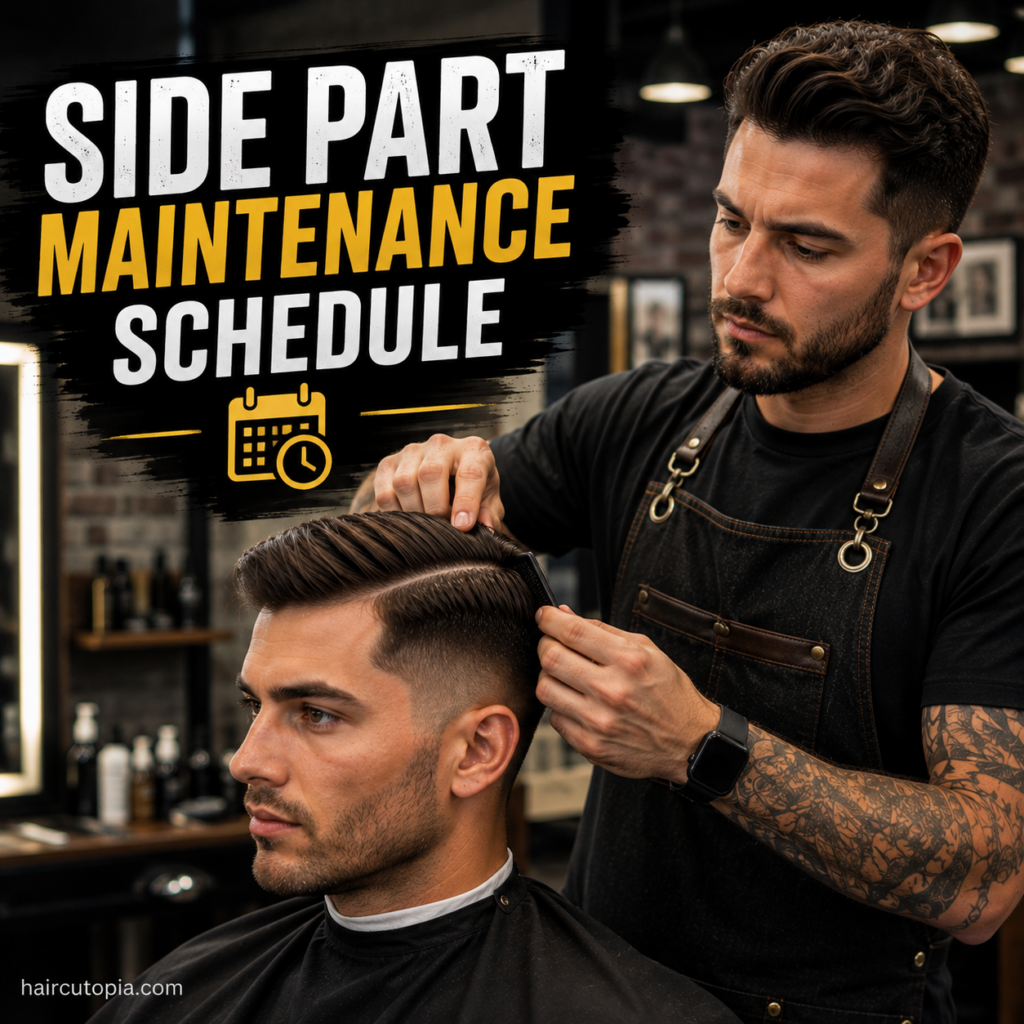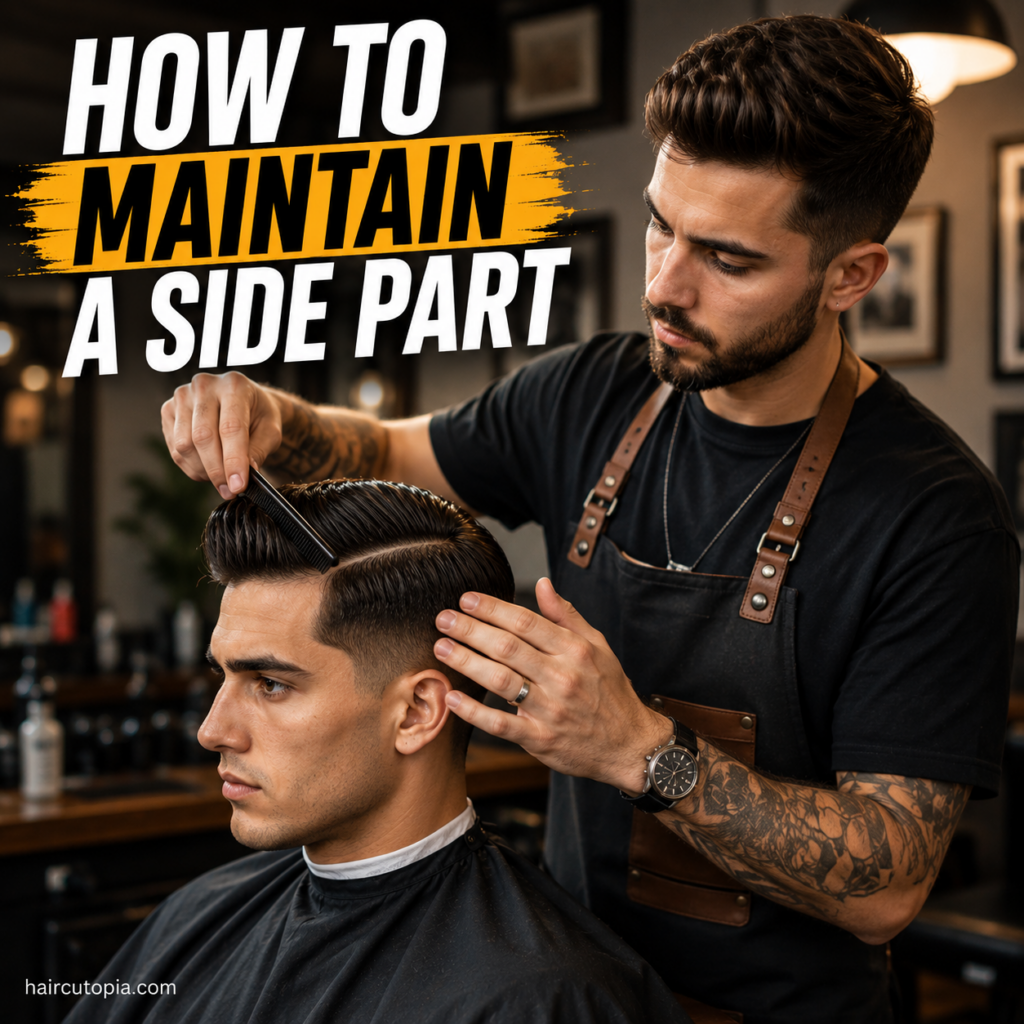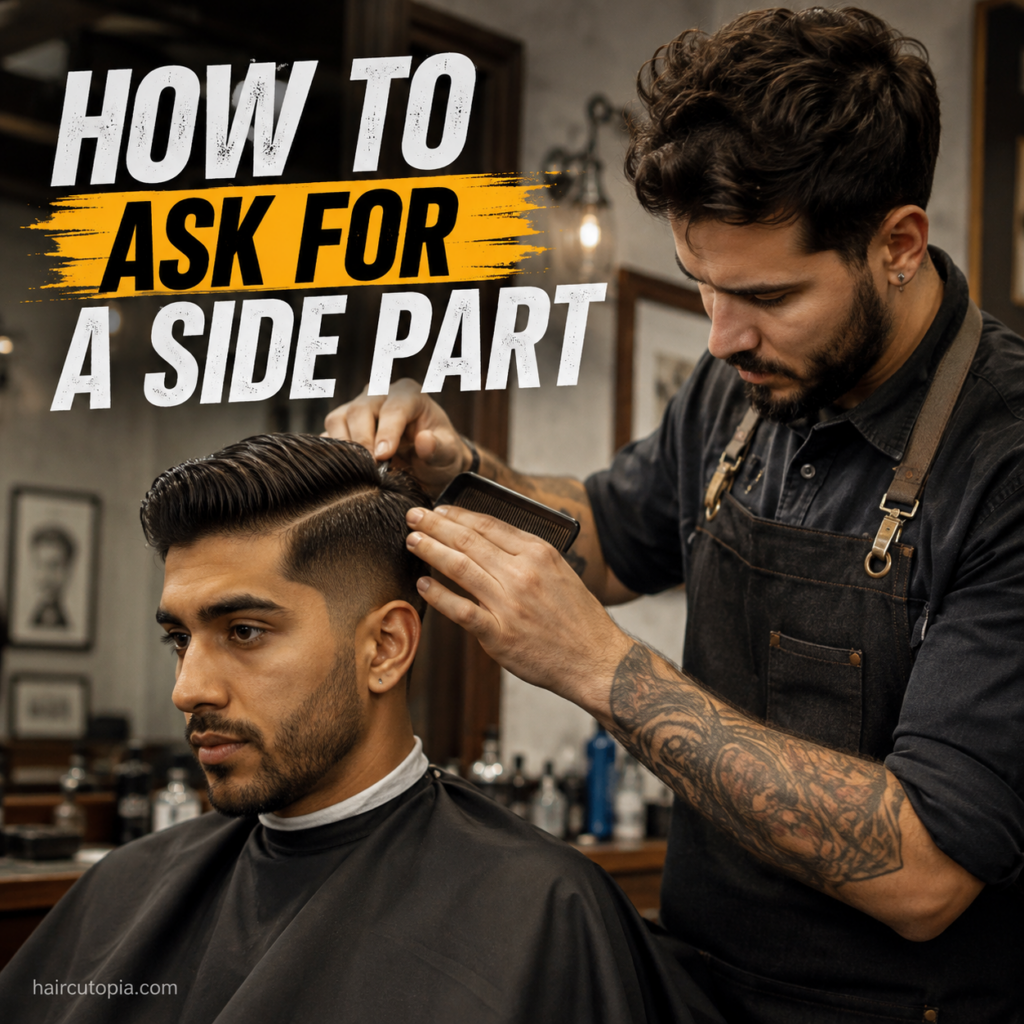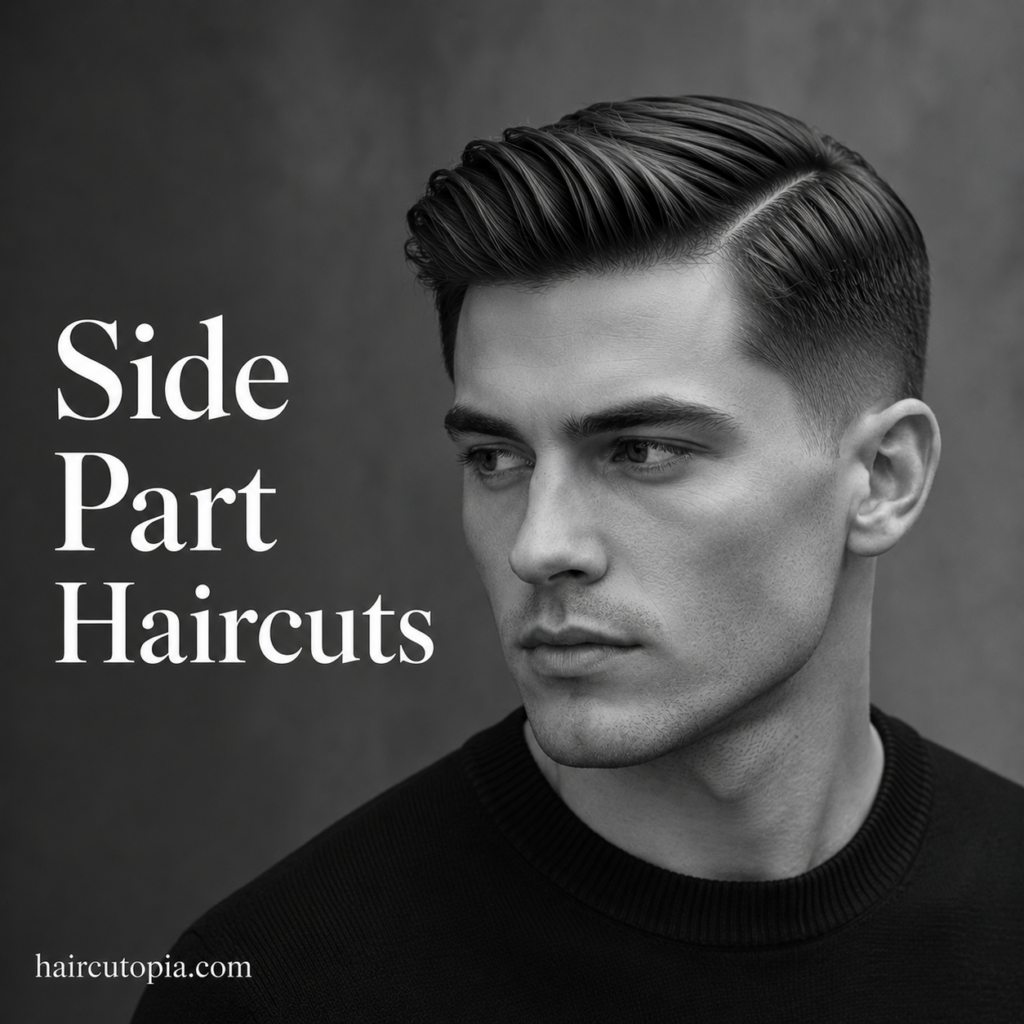
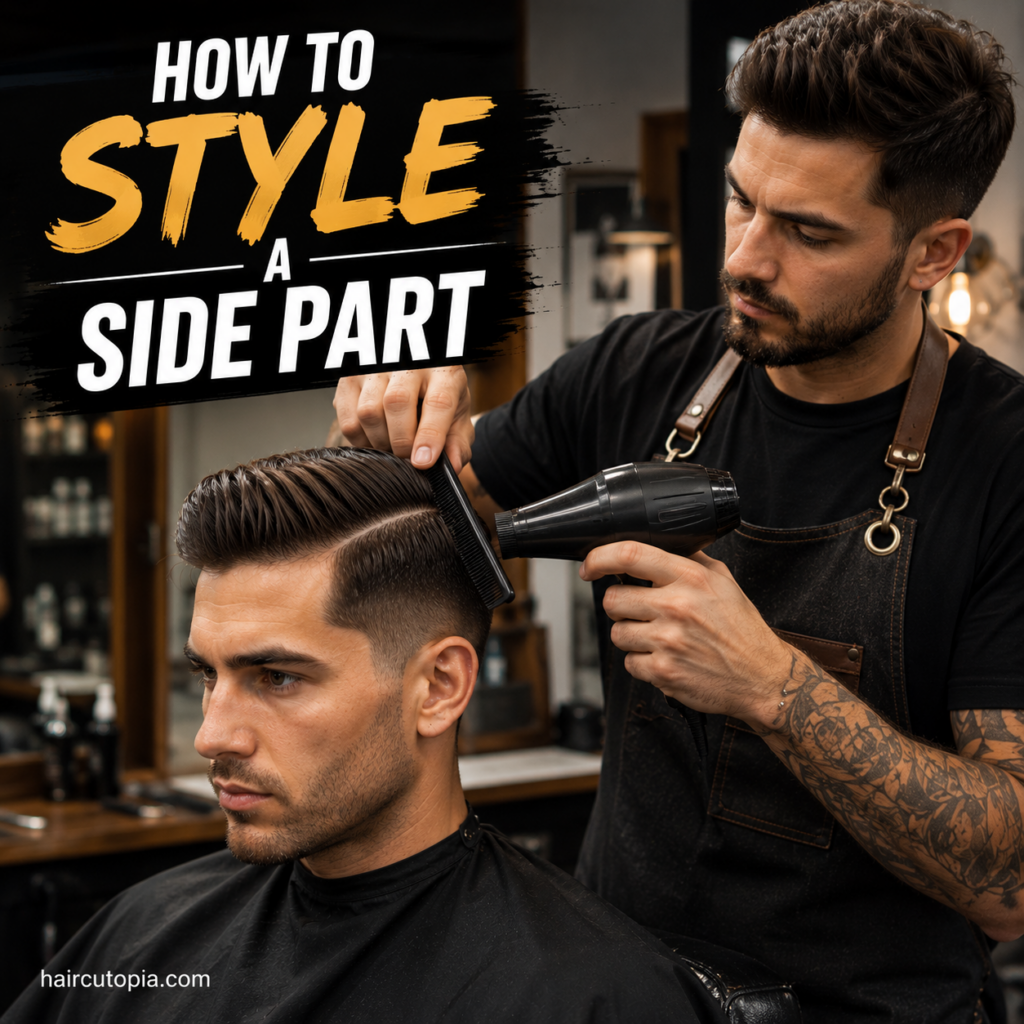
A side part is one of those hairstyles that can look completely different depending on how you style it. Comb it neatly with pomade and you get a polished, classic look. Add volume and texture and the same basic haircut feels much more modern and relaxed.
It doesn’t have to take much time, either.
Once you know where your hair naturally parts and how to direct it while it’s damp, styling becomes considerably easier. The right product helps, but technique matters just as much.
Whether you want a traditional side part, a loose textured version, or something with more volume in the front, here’s how to style a side part and keep it looking good throughout the day.
What You Need to Style a Side Part
You don’t need every grooming product on the shelf.
For a basic side part, you’ll usually need some combination of:
- Comb or styling brush
- Blow dryer
- Pomade, clay, paste, cream, or another styling product
- Towel
- Optional pre-styling product
- Optional hairspray for additional hold
A comb creates a cleaner, more defined finish. Your fingers or a brush can produce something softer and more natural.
You also don’t necessarily need a blow dryer. If your hair naturally falls into place, product and a comb may be enough.
For additional volume and control, however, a blow dryer can make a major difference.
Start With the Right Haircut
Styling is much easier when the haircut is designed to form a side part in the first place.
The top needs enough length to move across the head. The sides can be long, tapered, or faded depending on the style you’re after.
A barber can also account for cowlicks, hair density, and the direction your hair naturally grows.
If you’re constantly fighting your haircut every morning, styling technique might not be the problem. You may simply need the shape or weight adjusted.
Tell your barber that you wear a side part and explain how you normally style it. That gives them useful information when deciding how much length to leave and where to remove bulk.
Find Your Natural Side Part
Before reaching for styling product, figure out where your hair naturally wants to separate.
Try brushing or combing damp hair straight backward. Then gently push it forward or allow it to settle.
You may notice that it naturally separates toward one side.
You can also look at the direction of your hair growth around the crown. Hair often prefers to move in one direction because of its natural growth pattern.
Working with that pattern usually makes styling easier.
If you already have an established side part from your barber, simply follow the existing line.
Which Side Should You Part Your Hair On?
There’s no universal rule saying a side part must be on the left or right.
The best side is usually whichever works naturally with your hair.
Some people can comfortably part their hair in either direction. Others have cowlicks or growth patterns that strongly favor one side.
If you’re unsure, try both.
Take a quick photo after styling your hair each way. You may find that one direction complements your hairline or creates better volume.
Your barber can also help identify your natural part.
How to Style a Side Part Step by Step
Once you’ve found the part, the basic styling process is straightforward.
1. Start With Damp Hair
Styling a side part is usually easiest when your hair is slightly damp.
After showering, gently towel-dry it until it’s no longer dripping wet.
You don’t want to aggressively rub your hair with the towel. Patting and lightly drying it is enough.
If you’re restyling dry hair, you don’t necessarily need another shower. Lightly dampen it with your hands or a spray bottle.
2. Establish the Part
Use a comb to locate your natural part.
Run the comb along the separation line, directing the larger section across the top and the smaller section toward the opposite side.
For a softer style, you can establish the part with your fingers instead.
The cleaner you make the line, the more traditional and polished the hairstyle will appear.
3. Direct the Hair Into Position
Before applying much product, start creating the overall shape.
Guide the top across the head in the direction you want it to sit.
Don’t worry about getting every strand perfect yet.
At this stage, you’re establishing direction rather than creating the finished hairstyle.
4. Blow-Dry for Shape and Volume
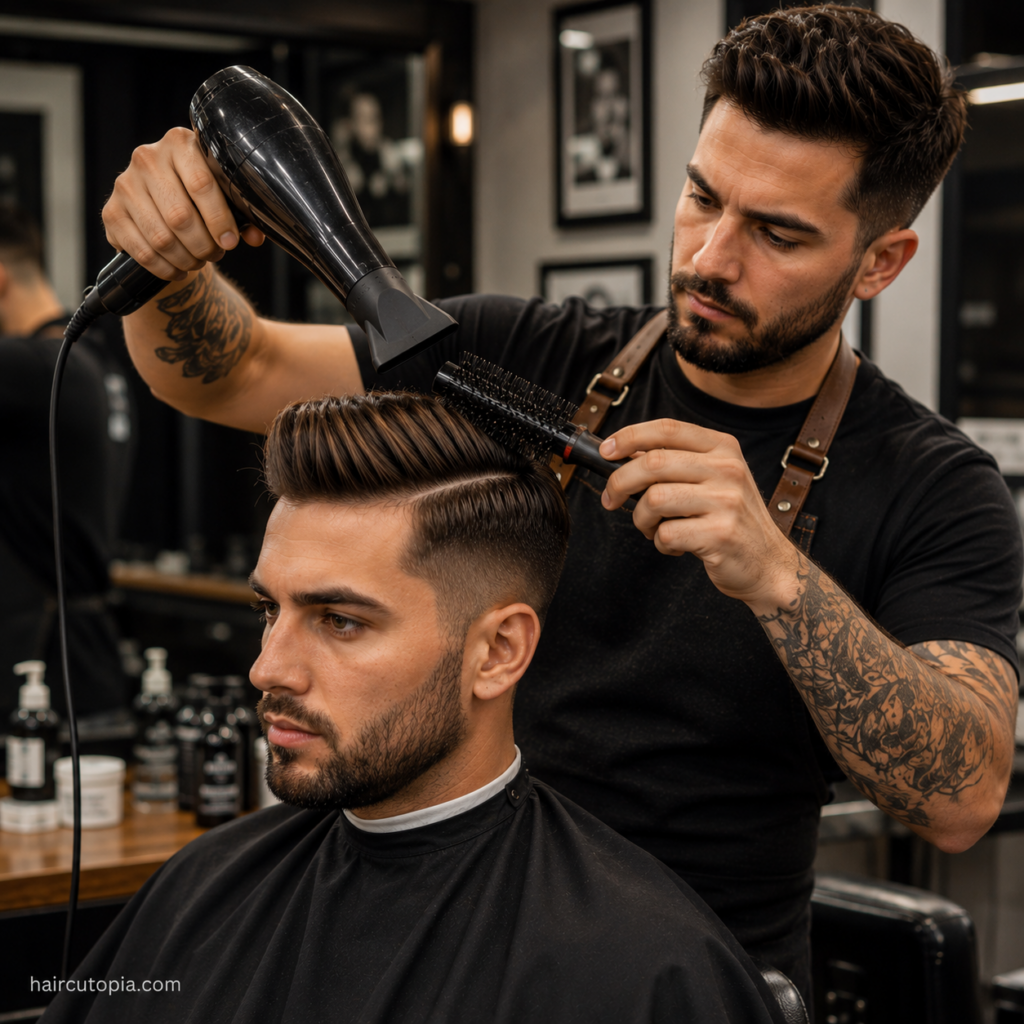
This step is optional, but it’s particularly useful if you want volume or have stubborn hair.
Direct the airflow in the same direction you’re styling the hair.
Use a comb, vent brush, round brush, or your fingers to lift the front while drying. This creates height before the hair is swept across.
Keep the dryer moving instead of concentrating heat on one spot.
If you want a flatter, classic side part, direct the hair closer to the scalp while drying.
If you want more volume, lift it upward first and then direct it sideways.
5. Apply Styling Product
Once the hair is mostly or completely dry, start with a small amount of product.
Rub it between your palms and fingers until it’s evenly distributed.
Work it through your hair rather than applying everything to the surface.
Depending on the product and hairstyle, starting toward the back and moving forward can help prevent a heavy concentration of product around the hairline.
Add more only if you need it.
6. Refine the Side Part
Now create the finished shape.
For a classic side part, use a comb to smooth the hair into position.
For a modern or textured style, use your fingers to separate sections and loosen the shape.
You can also lift the front slightly rather than combing it completely flat.
7. Finish the Style
Look at the haircut from several angles.
Check the front, sides, and crown rather than focusing only on the part.
Make small adjustments with your fingers or comb.
If your hair tends to lose its shape during the day, a light application of hairspray can provide additional hold.
How to Style a Classic Side Part
The classic side part is smooth, controlled, and relatively neat.
Start with damp hair and establish a clean part with a comb.
Direct the larger section across the top while keeping the sides controlled. Blow-dry the hair into position if necessary.
Apply a small amount of pomade or styling cream and comb everything into its final shape.
The goal isn’t necessarily to plaster the hair against your head. You can still leave some subtle volume at the front.
For a traditional finish, keep individual strands fairly controlled rather than intentionally separating them into texture.
How to Style a Modern Side Part
A modern side part tends to be looser.
Instead of creating a perfectly smooth shape, maintain the basic part while allowing some texture and movement through the top.
Blow-dry the hair upward and across to create volume.
Then work a matte clay, paste, or similar product through the hair.
Use your fingers for the final styling instead of repeatedly running a comb through it.
You should still be able to see the general direction of the part, but it doesn’t need to look perfectly drawn.
This approach works particularly well with tapered and faded sides.
How to Style a Textured Side Part
A textured side part sits somewhere between a traditional side part and a deliberately messy hairstyle.
The part provides structure while the top has visible separation and movement.
To create it:
- Start with slightly damp hair.
- Establish the general direction of the part.
- Blow-dry the top while lifting sections with your fingers.
- Work a small amount of clay or paste throughout the hair.
- Pinch or separate small sections to create texture.
- Adjust the front until it sits naturally.
Avoid combing the hair repeatedly after you’ve created the texture. Doing so can flatten the separation you just created.
How to Style a Side Part With Volume
If you want height at the front, the blow-drying stage becomes especially important.
Instead of immediately pushing your hair sideways, first lift it upward and slightly backward.
Once you’ve established height, direct it across the head.
A brush can help, but your fingers may be enough depending on your hair.
After drying, use a lightweight product that won’t immediately collapse the volume.
Start with less product than you think you need. Heavy pomades and excessive product can pull the hair downward.
How to Style a Side Part Without a Blow Dryer
A blow dryer is helpful, not mandatory.
If you prefer a simpler routine, start with damp hair and establish your part with a comb.
Apply a small amount of styling product and work it through the hair.
Then comb or finger-style everything into place and allow it to air-dry.
You’ll generally get less volume than you would with blow-drying, but that may be exactly what you want for a traditional or relaxed side part.
Avoid constantly touching the hair while it dries. Letting the product set can improve the final hold.
How to Style a Side Part Without Product
You can also wear a side part without styling product, particularly if your hair naturally falls into position.
Dampen the hair, establish the part, and use a blow dryer to create the shape.
The heat and airflow can provide some temporary direction even without pomade, clay, or paste.
The result will usually be softer and more natural, although it may not hold as long.
People with thicker, stubborn, or very straight hair may find that a small amount of product makes the style considerably easier to maintain.
Choosing the Best Product for a Side Part
Different products can turn the same haircut into very different hairstyles.
Pomade
Pomade is one of the traditional choices for a side part.
It’s particularly useful when you want:
- A smooth finish
- Defined comb lines
- Stronger control
- A polished appearance
- Low-to-moderate volume
Pomades vary considerably in shine and hold, so check the finish before choosing one.
Clay
Hair clay is a good choice for modern side parts.
It typically creates a drier, more natural-looking finish while providing texture and control.
Clay works well for:
- Textured side parts
- Matte finishes
- Added separation
- Casual styles
- Short-to-medium hair
Some clays are quite strong, so start with a small amount.
Styling Paste
Paste is versatile and generally easy to work through the hair.
It’s useful when you want noticeable control without the slick appearance associated with traditional pomade.
Paste can work particularly well for everyday side parts that need some texture and movement.
Styling Cream
Styling cream generally provides lighter control.
It’s a good option for:
- Longer hair
- Wavy hair
- Natural-looking side parts
- Softer finishes
- Light control
Cream can also help tame flyaways without making the hairstyle look heavily styled.
Hair Wax
Wax can provide flexible hold and definition.
It’s useful when you want to reshape the hair during the day rather than locking it permanently into one position.
Gel
Gel provides a firmer, more structured hold.
It can work for sharply defined side parts, although some formulas dry stiff or create a wet appearance.
If you want natural movement, a paste, clay, cream, or flexible pomade may be more suitable.
How Much Styling Product Should You Use?
Start small.
For many short-to-medium side parts, you only need a modest amount of product.
The exact quantity depends on your hair length, density, and the product itself.
Rather than applying a large amount immediately:
- Start with a small dab.
- Rub it thoroughly between your palms.
- Distribute it through your hair.
- Style the hair.
- Add a little more only if needed.
Too much product can make the top heavy, greasy, or difficult to reshape.
It’s much easier to add product than remove it.
How to Style a Side Part for Different Hair Types
Your natural texture affects the best styling technique.
Straight Hair
Straight hair can produce a particularly clean side part.
If it tends to fall flat, use a blow dryer to add volume before applying product.
Fine straight hair usually benefits from lighter products that won’t weigh it down.
Thick Hair
Thick hair can create excellent volume but may require stronger control.
Blow-drying helps establish the shape before product is applied.
If the hair feels excessively bulky even after styling, ask your barber whether some internal weight can be removed during your next haircut.
Wavy Hair
Wavy hair works especially well with relaxed and textured side parts.
Instead of trying to straighten every wave, use the natural movement to your advantage.
A styling cream or lighter paste can help control the overall shape while allowing the texture to remain visible.
Curly Hair
A side part on curly hair doesn’t need to look like a traditional combed hairstyle.
Establish the separation and allow the curls to retain their natural shape.
Avoid repeatedly combing through dry curls if doing so creates unwanted frizz or disrupts their definition.
Use your fingers to position the hair and choose a product suited to your curl pattern.
Fine or Thinning Hair
If your hair is fine, avoid loading it with heavy product.
Creating some volume can make the hair appear fuller.
Blow-dry the top upward before directing it across the head, and use a lightweight product to maintain the shape.
A slightly softer part may also look more natural than an extremely sharp separation that exposes more scalp.
How to Style a Hard Part
A hard part already has a shaved line defining the separation, so locating the part is easy.
Style the hair away from the line on both sides.
Because a hard part creates a strong visual boundary, neat styling often complements it well. You can still add texture to the top if you prefer a modern finish.
Avoid trying to widen or redefine the shaved line yourself unless you’re comfortable using clippers or a trimmer.
As it grows out, let your barber clean it up.
How to Keep a Side Part in Place All Day
If your side part looks good in the morning but collapses by lunchtime, don’t automatically reach for the strongest product available.
First, look at your styling process.
Long-lasting hold often comes from establishing the shape before product is applied.
Try:
- Styling damp rather than soaking-wet hair
- Blow-drying the hair into position
- Using less but better-distributed product
- Applying product throughout the hair rather than only on top
- Choosing a hold level appropriate for your hair
- Using a small amount of hairspray if necessary
Humidity, wind, physical activity, and naturally stubborn hair can still affect the style.
The goal is usually controlled movement rather than hair that feels completely frozen.
How to Restyle a Side Part During the Day
One advantage of many modern styling products is that they remain workable.
If the hairstyle gets disrupted, try reshaping it with your fingers before adding anything else.
You may be able to restore the part simply by running slightly damp hands through your hair.
For products that reactivate with water, a tiny amount of moisture can make restyling much easier.
Avoid repeatedly adding new layers of product throughout the day. Eventually, the buildup can make your hair heavier and harder to control.
Common Side Part Styling Mistakes
A few mistakes can make an otherwise good haircut frustrating to style.
Using Too Much Product
This is probably the easiest mistake to make.
Excess product weighs the hair down and can make a natural side part look greasy.
Start with less and build gradually.
Styling Soaking-Wet Hair
Very wet hair makes it difficult to judge the final volume and shape.
Towel-dry first and begin styling when the hair is damp.
Fighting the Natural Part
You can change where you part your hair, but forcing it against a strong growth pattern requires more effort.
If low maintenance is the goal, work with your natural direction.
Flattening the Front
Immediately combing everything tightly sideways can remove all the volume.
If you want height, lift the front before directing it across.
Using the Wrong Product
A heavy, shiny pomade isn’t ideal if you’re trying to create a lightweight textured finish.
Likewise, a very light cream may not provide enough control for extremely thick or stubborn hair.
Choose the product based on the result you want rather than simply buying the strongest option.
Ignoring an Overgrown Haircut
At some point, styling tricks stop fixing the problem.
If the sides are bulky or the top has become too heavy to hold its shape, it may simply be time for a haircut.
Quick Side Part Styling Routine
If you don’t want to spend much time on your hair in the morning, keep the routine simple.
- Dampen your hair.
- Find your natural part.
- Direct the hair into position.
- Blow-dry for shape and volume if needed.
- Apply a small amount of product.
- Comb for a polished look or finger-style for texture.
- Make a few final adjustments and you’re done.
Once you’re familiar with your hair, the process can take just a few minutes.
Should You Use a Comb or Your Fingers?
Both work. They simply create different finishes.
Use a comb when you want:
- A clearly defined part
- Smooth sections
- Traditional styling
- Visible comb lines
- A polished finish
Use your fingers when you want:
- Texture
- Natural separation
- More movement
- A casual appearance
- Less precision
You can also use both.
Establish the part with a comb and then finish the top with your fingers. This gives you the structure of a side part without making the hairstyle look overly formal.
Final Thoughts
Learning how to style a side part is less about mastering complicated techniques and more about understanding how your own hair behaves.
Start by finding the direction your hair naturally wants to part. Style it while it’s slightly damp, establish the shape before adding too much product, and use a blow dryer when you need additional volume or control.
From there, choose the finish you actually want.
Pomade and a comb can create a clean, classic side part. Clay or paste and your fingers can turn the same basic haircut into something textured and modern. Styling cream can keep longer or wavy hair controlled without removing its natural movement.
Most importantly, don’t overcomplicate it.
A good side part should become easier to style as you learn your hair’s natural direction, how much product it needs, and which techniques actually make a difference.