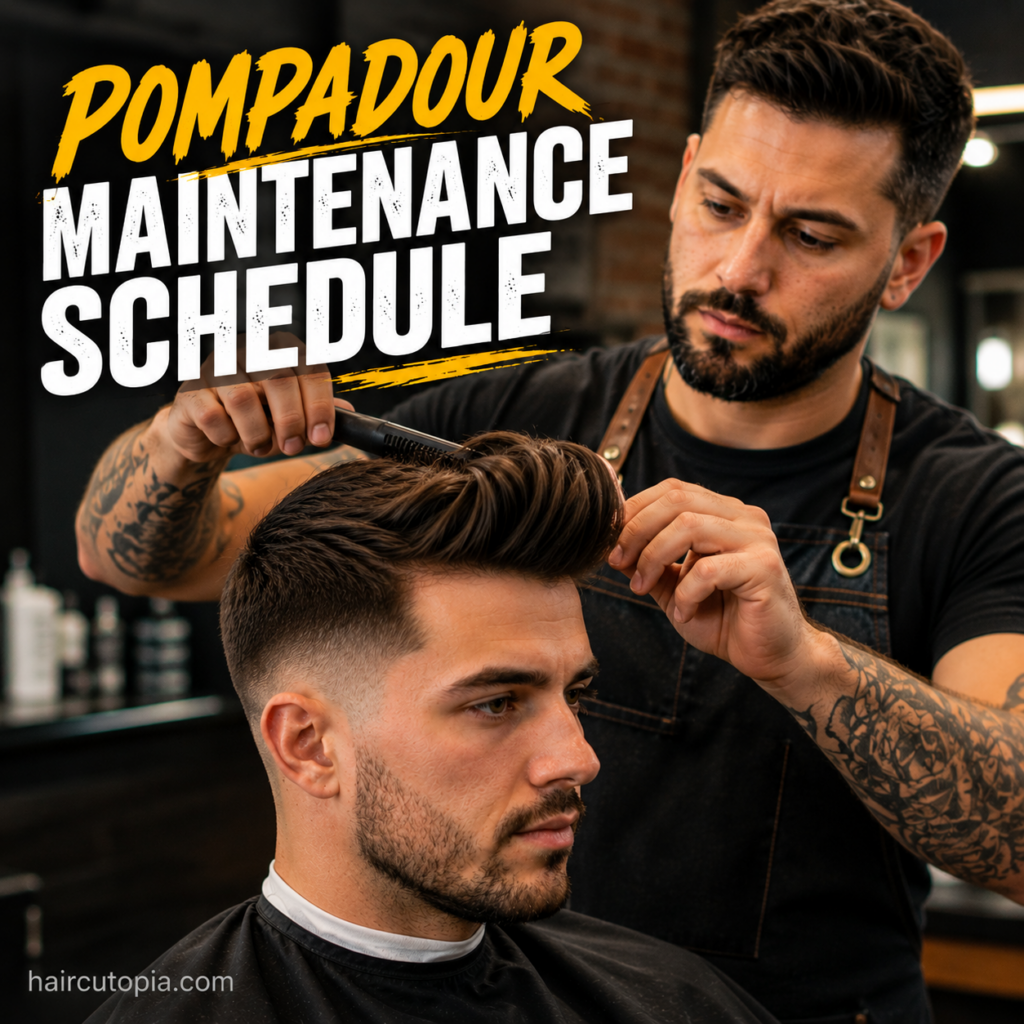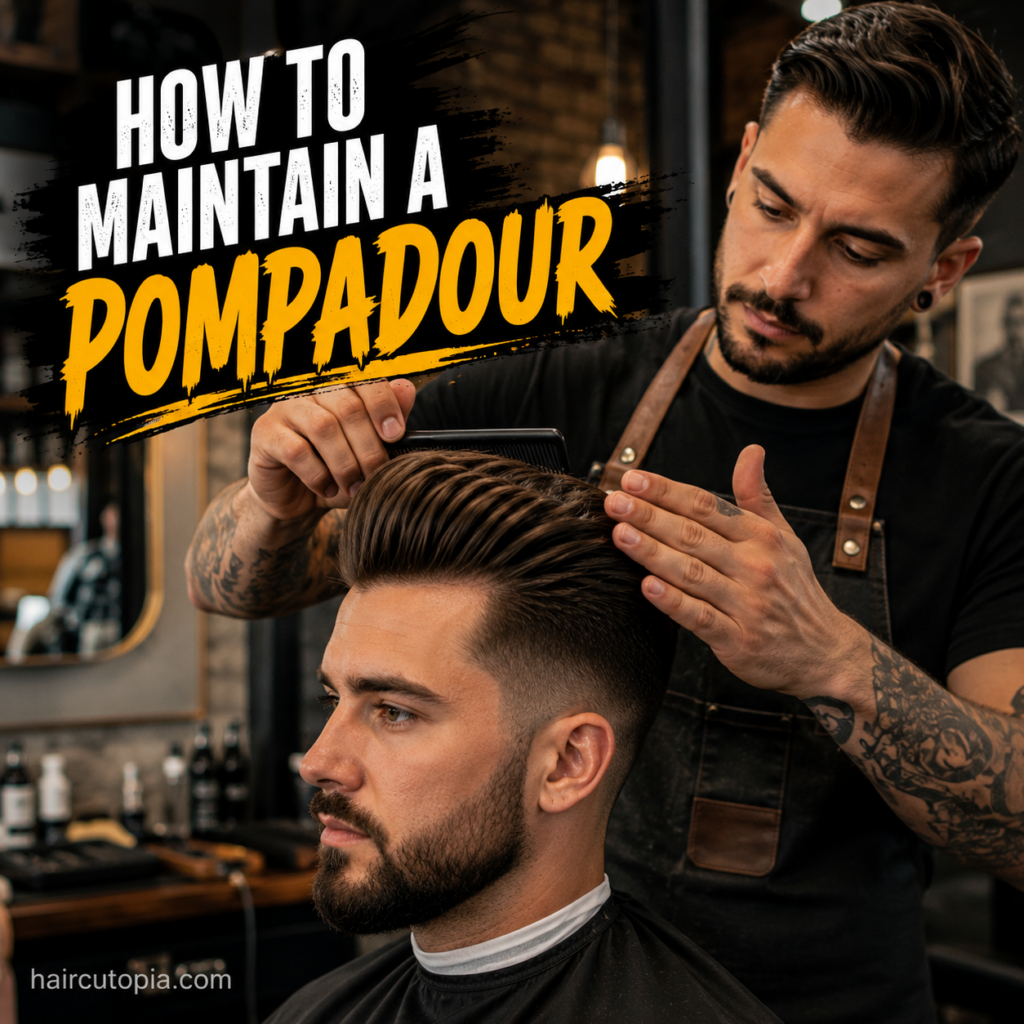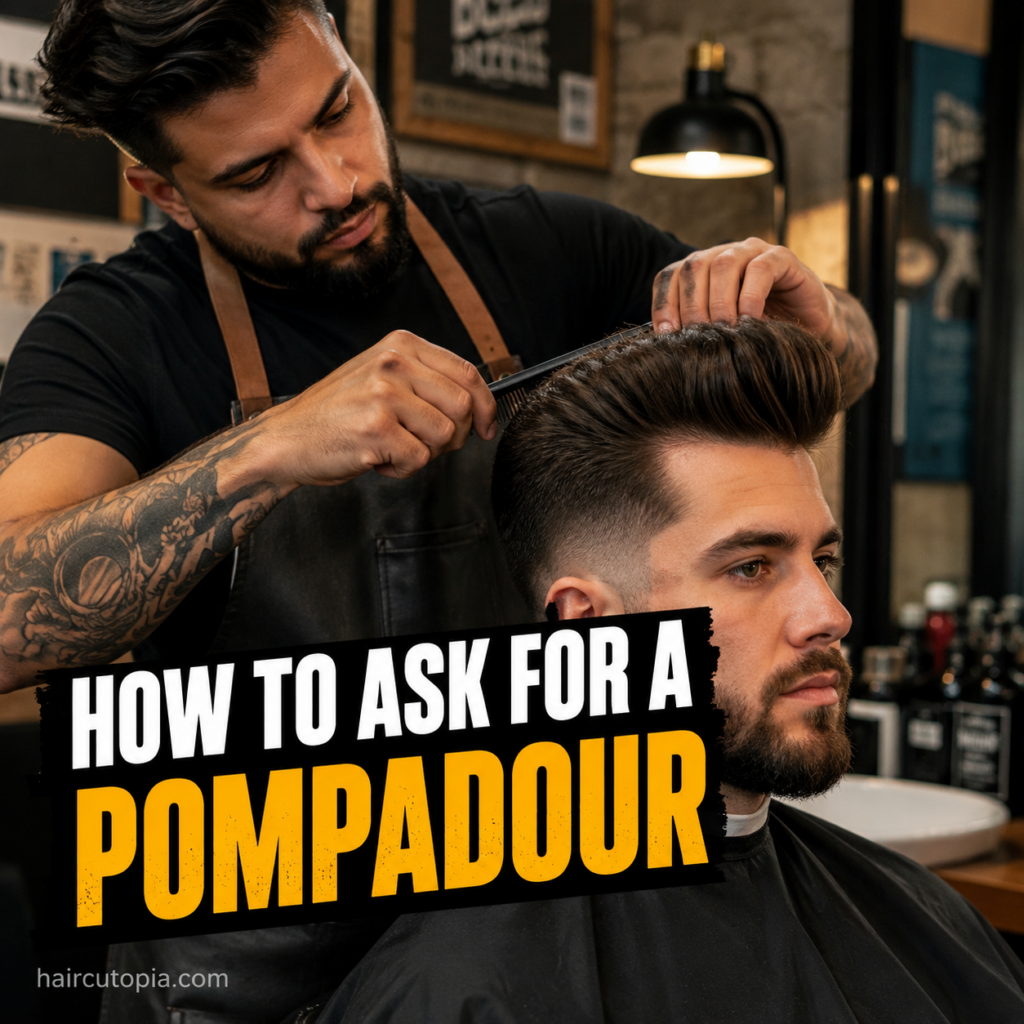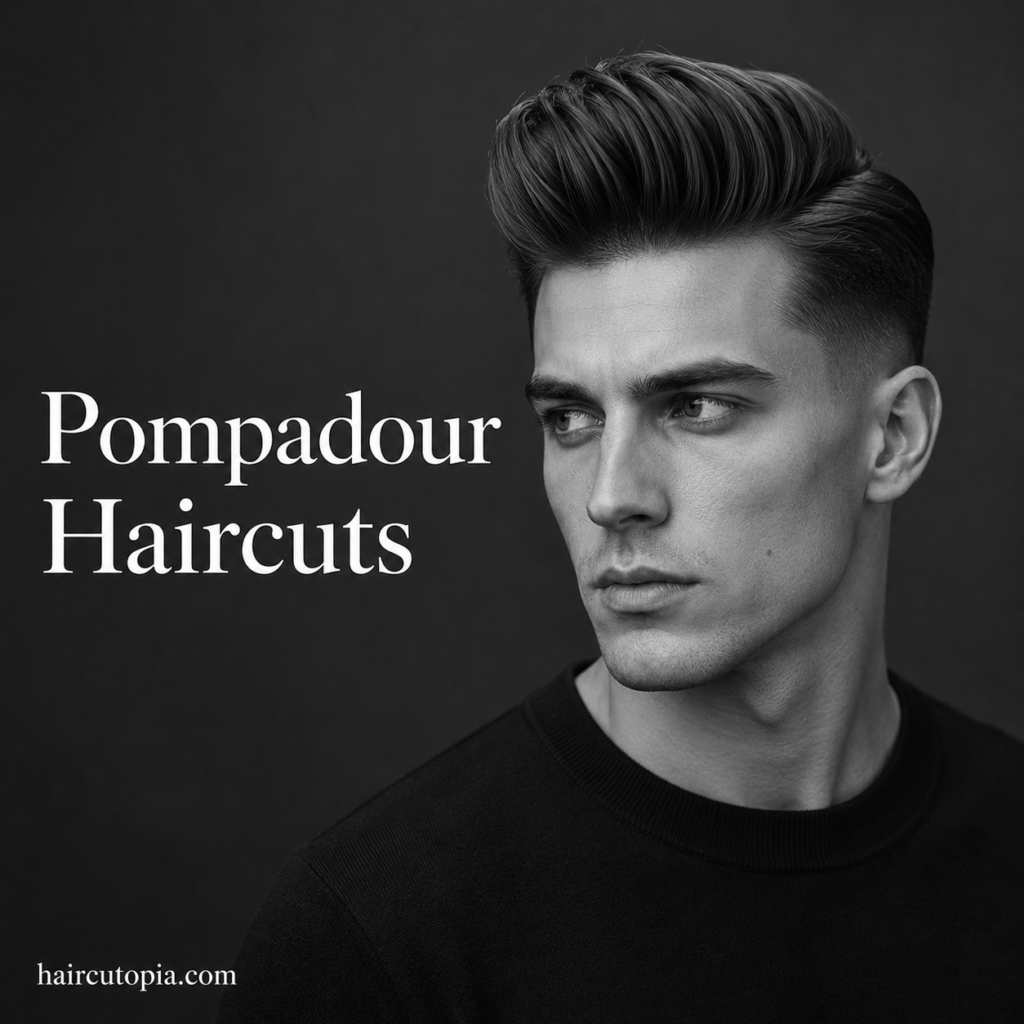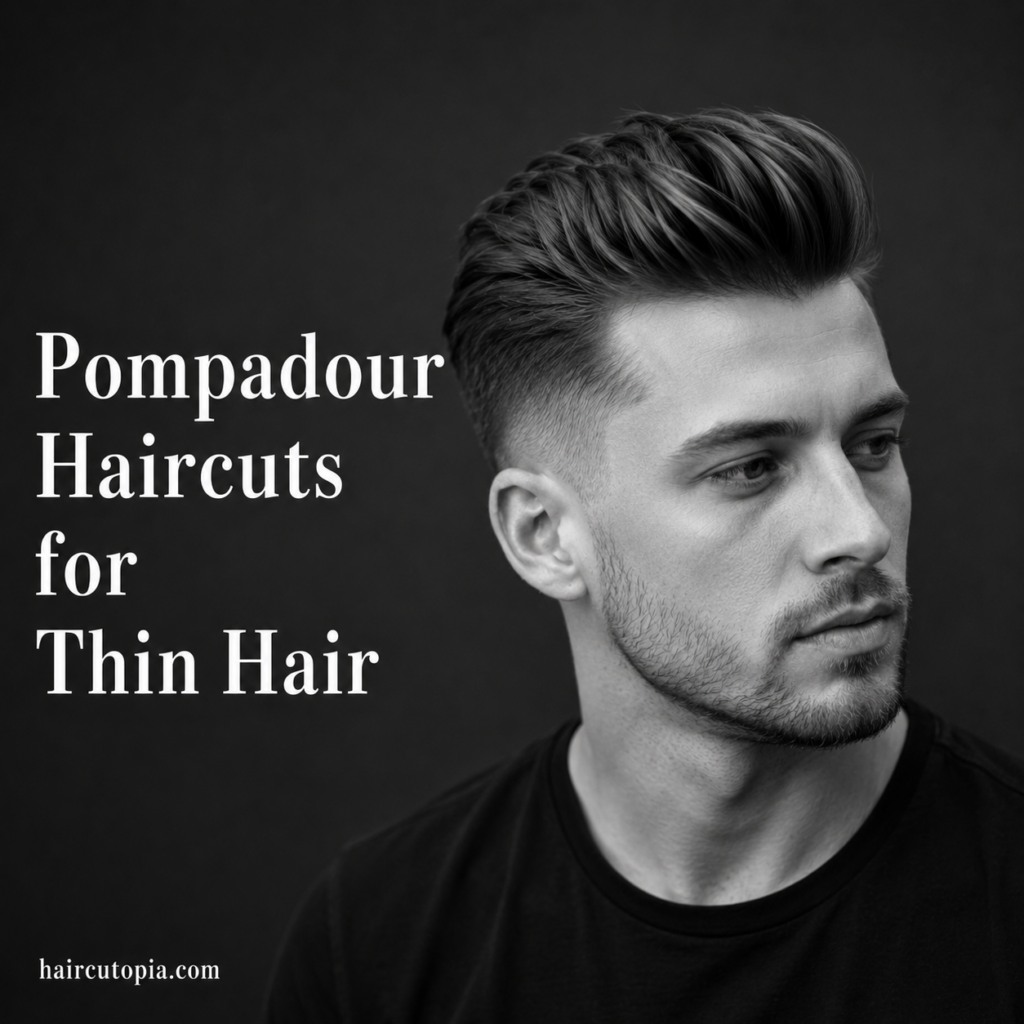
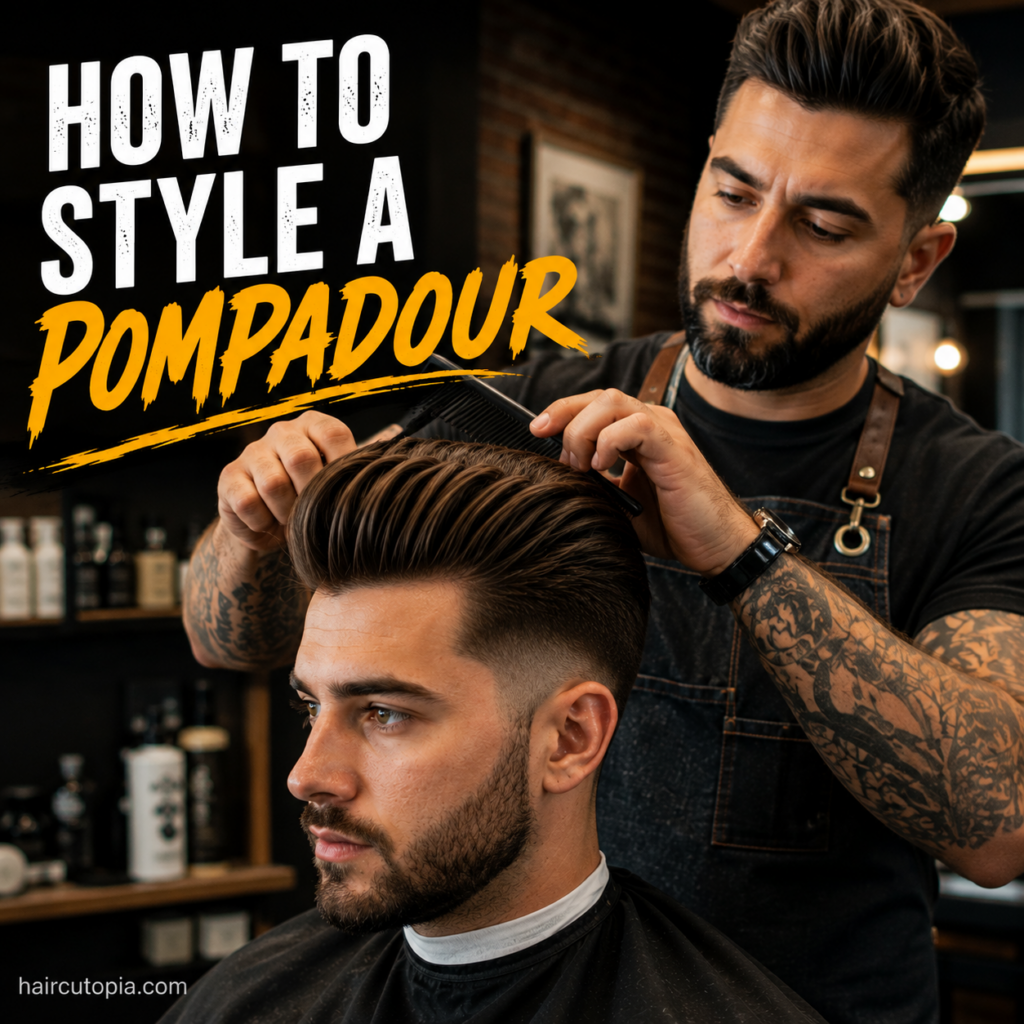
A good pompadour looks like it should take a lot of effort. The front has height, the hair flows backward, and the entire style seems to stay suspended in exactly the right position.
In reality, styling a pompadour gets much easier once you stop trying to create all that volume with styling product.
The real work happens before the pomade, clay, or paste goes into your hair. Dampness, blow-drying direction, root lift, and the way you shape the front all play a bigger role than simply using a stronger product.
Whether you want a polished classic pompadour or a looser modern version, here’s how to style a pompadour step by step and keep it looking good throughout the day.
What You Need to Style a Pompadour
You don’t need a drawer full of grooming products.
A basic pompadour styling setup can include:
- Blow dryer
- Comb, vent brush, or round brush
- Pomade, clay, paste, or styling cream
- Pre-styler or volumizing product, if needed
- Hairspray for optional extra hold
Your exact setup depends on your hair.
Someone with thick, naturally voluminous hair may need very little product. Fine or straight hair may benefit from a lightweight pre-styler that adds body before blow-drying.
The blow dryer is the tool that matters most.
Start With the Right Haircut
Styling can’t completely compensate for a haircut that isn’t suited to a pompadour.
You need enough length through the top, particularly toward the front, to lift the hair and direct it backward.
The sides can vary considerably.
A pompadour can be paired with:
- A classic scissor-cut side
- A taper
- A low fade
- A mid fade
- A high fade
- An undercut
The longer the front, the more potential height you have. That doesn’t mean everyone needs an enormous pompadour, but cutting the front too short can make creating the signature shape difficult.
If you’re struggling to style your hair despite using the right technique, the haircut itself may need adjusting.
Start With Damp Hair
For most people, a pompadour is easiest to style when the hair is damp rather than dripping wet or completely dry.
After showering, gently towel-dry your hair.
You want enough moisture that the hair remains flexible and easy to redirect, but not so much that your blow dryer spends several minutes simply removing water.
If your hair is already dry, you don’t necessarily need another shower. Lightly dampening it with water can give you a fresh starting point.
Apply a Pre-Styler if You Need One
A pre-styler isn’t mandatory, but it can make a noticeable difference.
Pre-styling products are applied before blow-drying and can help with:
- Volume
- Texture
- Control
- Heat protection
- Hold
Lightweight volumizing products can be particularly helpful for fine or straight hair that tends to collapse.
Use a small amount and distribute it evenly.
You don’t want your hair coated before you’ve even started shaping it.
How to Blow-Dry a Pompadour
Blow-drying creates the foundation of the style.
Instead of randomly drying your hair and trying to fix everything afterward, use the airflow to train the hair into the direction you want it to sit.
Step 1: Set the Direction
Begin by directing the hair on top backward.
Use your fingers, a comb, or a brush while following with the blow dryer.
Don’t worry about getting dramatic height immediately. First establish the overall backward flow.
Step 2: Lift the Roots
Once the hair is moving in the right direction, concentrate on the roots.
Lift sections away from the scalp while directing warm air toward the base of the hair.
This creates volume before you apply any finishing product.
Step 3: Focus on the Front
The front deserves extra attention because it creates the recognizable pompadour shape.
Lift the front upward first.
Then gradually direct it backward.
If you immediately flatten the hair straight toward the back of your head, you’ll lose much of the height.
Think of the movement as up, then back.
Step 4: Shape the Sides
Direct the sides into their intended position while you dry.
With a faded pompadour, there may not be much hair to manage. With a classic pompadour, the sides need to sit neatly without puffing outward.
Step 5: Finish Drying the Hair
Continue shaping until your hair is dry.
This matters more than it might seem.
Hair that remains damp can lose its shape as it finishes drying naturally.
By the time you switch off the blow dryer, your hair should already resemble a pompadour even without finishing product.
How to Use a Round Brush for More Volume
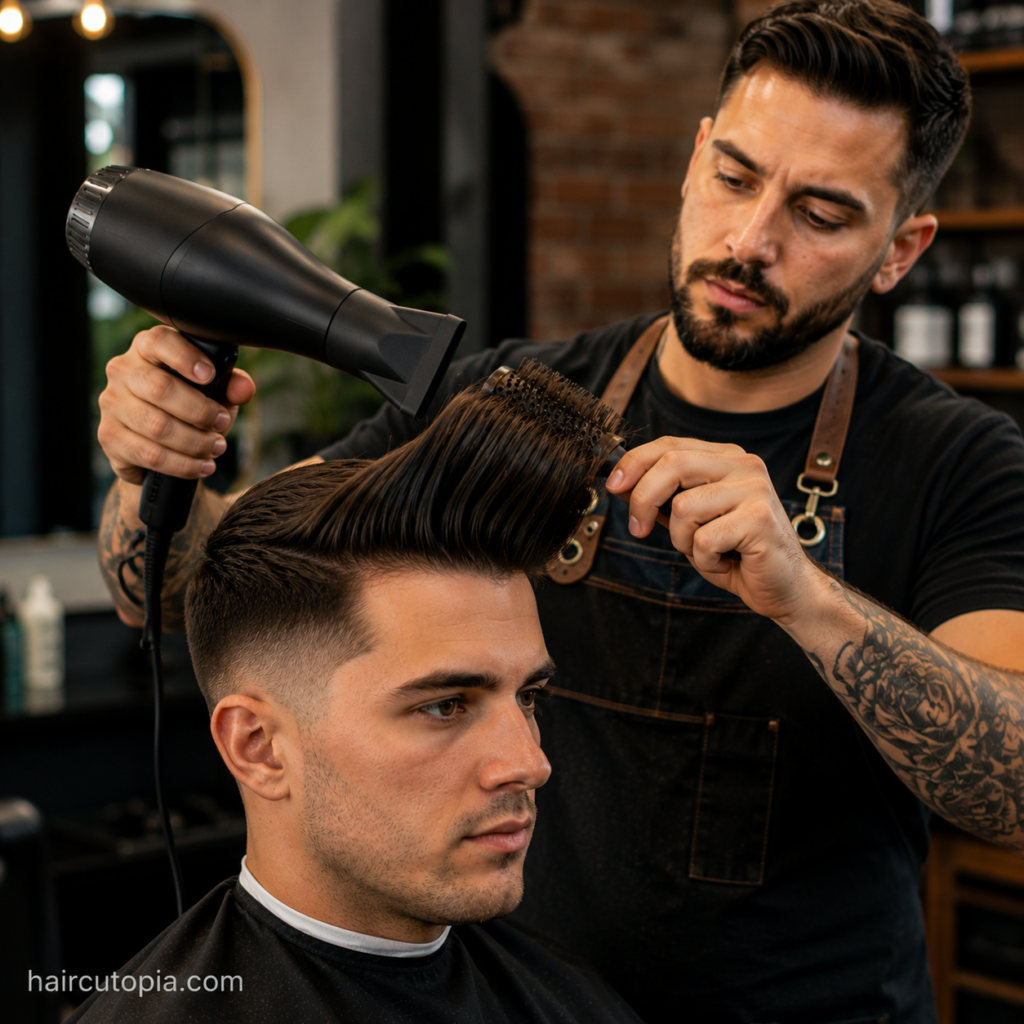
If you want additional height, a round brush can help.
Place the brush underneath the front section of your hair near the roots. Lift the hair upward while directing the blow dryer toward it.
Roll or pull the brush backward as you dry.
The goal isn’t to curl the hair around the brush. You’re using the brush to create tension and lift.
Work in manageable sections rather than trying to wrap the entire front around the brush at once.
A vent brush can also work well if you prefer something easier to maneuver.
Choose a Styling Product Based on the Finish You Want
Once you’ve created the basic shape, use a finishing product to add control and define the style.
Different products produce different results.
Pomade for a Classic Pompadour
Pomade is a natural choice for a traditional pompadour.
It can provide:
- Smooth control
- Defined shape
- Medium to strong hold
- Low to high shine depending on the formula
- Easy combing
A shinier pomade creates a more vintage appearance, while lower-shine formulas can look more contemporary.
Clay for a Textured Pompadour
Hair clay is well suited to modern pompadours.
Clay typically gives you:
- Matte or low-shine finish
- Texture
- Separation
- Stronger control
- A thicker-looking appearance
It’s particularly useful if you want the style to look less polished and more natural.
Paste for Flexible Styling
Paste is a versatile middle ground.
It can provide enough control for a pompadour without creating the slick finish associated with some pomades or the dryness of some clays.
Paste works well for relaxed everyday styles.
Styling Cream for a Softer Look
Styling creams generally offer lighter hold and a more natural finish.
They’re useful when your hair already has good volume or when you’re wearing a loose, lower pompadour rather than a highly structured style.
How Much Product Should You Use?
Less than you might expect.
One of the most common mistakes when styling a pompadour is applying a large amount of product because the hair isn’t staying up.
That can make the problem worse.
Heavy product adds weight, and weight pulls the hairstyle downward.
Start with a small amount—roughly a fingertip-sized quantity depending on the product and your hair length.
Rub it thoroughly between your palms until it’s evenly distributed.
Then work it into your hair.
You can always add more.
Apply Product From Back to Front
Avoid placing a large blob of product directly onto the front of your hair.
The front is where you need the most volume, so loading it with product can make it heavy.
Instead:
- Warm the product between your palms.
- Begin working it through the back and middle of the top.
- Distribute it toward the sides as needed.
- Move toward the front.
- Use whatever remains on your hands to shape the highest section.
Make sure the product reaches more than just the surface.
Running your fingers through the hair helps distribute it evenly and gives you better control.
Shape the Pompadour
Now refine the shape you’ve already created with the blow dryer.
Push the hair backward while lifting the front.
For a clean pompadour, use a comb to smooth the surface and create a defined silhouette.
For a textured pompadour, use your fingers to separate sections and loosen the shape.
Don’t flatten the front while trying to make everything neat.
If you lose height, slide your fingers or comb underneath the front and gently push it upward again.
How to Style a Classic Pompadour
A classic pompadour typically looks smoother and more controlled than modern variations.
To style one:
- Start with damp hair.
- Apply a small amount of pre-styler if needed.
- Blow-dry the top upward and backward.
- Keep the sides directed neatly backward.
- Apply pomade evenly through the hair.
- Use a comb to refine the shape.
- Lift the front while combing it backward.
- Smooth flyaways without flattening the volume.
Classic versions often look best with some shine and visible structure.
The sides are usually fuller as well, so pay attention to how they connect with the top.
How to Style a Modern Pompadour
A modern pompadour tends to be less rigid.
Instead of creating a perfectly smooth surface, you can allow individual sections to separate naturally.
Try this approach:
- Apply a lightweight pre-styler to damp hair.
- Blow-dry upward and backward.
- Create height primarily through the front.
- Work a small amount of clay or paste through the hair.
- Use your fingers to shape the pompadour.
- Pull apart a few sections for texture.
- Leave the surface slightly imperfect.
This works particularly well with faded or tapered sides.
How to Style a Messy Pompadour
A messy pompadour should look relaxed, not accidental.
You still need to create the basic structure.
Blow-dry the hair upward and backward as usual, but use your fingers instead of trying to make every strand perfectly aligned.
Apply a matte clay or paste and separate small sections.
Avoid excessive combing.
The result should have visible height and direction while retaining movement through the top.
How to Style a Pompadour With Fine Hair
Fine hair can create a great pompadour, but heavy styling products can quickly flatten it.
Your priority should be building volume without adding unnecessary weight.
Try:
- A lightweight volumizing pre-styler
- Root lift from blow-drying
- Small amounts of finishing product
- Matte or low-shine products
- Light hairspray for additional hold
Don’t compensate for fine hair by repeatedly adding more pomade.
If the style keeps collapsing, return to the blow dryer and work on the foundation.
How to Style a Pompadour With Thick Hair
Thick hair usually doesn’t struggle to create volume.
The challenge is controlling it.
Work in sections while blow-drying instead of trying to force all of the hair backward at once.
A medium-to-strong hold product can help keep the shape together.
If your hair becomes increasingly difficult to style as it grows, you may need your barber to remove some excess bulk while preserving the length required for the pompadour.
How to Style a Pompadour With Wavy Hair
Wavy hair gives the pompadour natural movement.
You can smooth the waves with a brush and blow dryer for a cleaner result or allow some of the natural texture to remain.
For a relaxed modern pompadour, try using your fingers during blow-drying and finish with a flexible paste or clay.
Don’t feel obligated to straighten every wave.
A little natural movement can make the style look less manufactured.
How to Style a Pompadour With Curly Hair
Curly hair can produce a distinctive pompadour with substantial natural volume.
Instead of trying to turn the curls into straight hair, focus on directing the overall shape upward and backward.
Depending on your curl pattern, you may prefer:
- Finger styling
- Moisturizing styling cream
- Flexible-hold products
- Less aggressive brushing
- Diffused or controlled blow-drying
Your goal is to establish the pompadour silhouette while preserving as much natural texture as you want.
How to Get More Height in a Pompadour
If your pompadour isn’t getting enough height, don’t immediately reach for more product.
Try adjusting your blow-drying technique first.
For greater volume:
- Lift from the roots
- Dry the front upward before directing it backward
- Use a round or vent brush
- Avoid soaking-wet hair
- Fully dry the hair into position
- Use lighter products
- Avoid pressing down on the front while finishing
You also need enough length.
If the front is too short, there’s only so much height you can create.
How to Keep a Pompadour From Falling Flat
A pompadour that looks great for 20 minutes and then collapses usually has a problem with its foundation, product choice, or haircut.
Common causes include:
- Hair was still damp after styling
- Too much product was used
- The product is too heavy for the hair
- Roots weren’t lifted during blow-drying
- The top has become too long or heavy
- The front is too short to hold the desired shape
- Humidity is affecting the style
If you need additional hold, lightly applying hairspray after you’ve finished styling can help.
Don’t saturate the hair. You want to reinforce the shape, not turn it into a helmet.
How to Restyle a Pompadour During the Day
One advantage of many pomades, pastes, and flexible products is that the hairstyle can be adjusted.
If the front loses some height, try lifting it with your fingers or comb before adding more product.
For a bigger reset, slightly dampen your hands and work them through the hair. Then reshape it.
If you have access to a blow dryer, a brief blast of air at the roots can restore a surprising amount of volume.
Constantly adding product throughout the day usually isn’t necessary.
How to Refresh a Pompadour the Next Morning
Your pompadour probably won’t look the same after sleeping on it.
That’s normal.
You also don’t necessarily need to shampoo your hair every morning.
If your hair and scalp don’t need washing:
- Lightly dampen the hair.
- Loosen the previous style with your fingers.
- Blow-dry upward and backward.
- Rebuild the front.
- Add a small amount of product if necessary.
- Reshape the hairstyle.
If there’s significant product buildup, washing first may give you a cleaner starting point.
Common Pompadour Styling Mistakes
Even small changes to your technique can make the hairstyle much easier to manage.
Using Product Instead of a Blow Dryer
Product helps hold a pompadour. It shouldn’t have to create the entire shape.
Build volume first.
Using Too Much Product
If the hair becomes greasy, sticky, or noticeably heavier, you’ve probably used too much.
Start small and add gradually.
Blow-Drying Straight Back
The front needs to travel upward before it moves backward.
Drying everything flat against your head eliminates the height that defines the style.
Styling Hair That’s Too Wet
Very wet hair takes longer to dry and makes it harder to establish volume quickly.
Towel-dry first.
Flattening the Front With a Comb
A comb is useful for smoothing the pompadour, but too much pressure can undo your volume.
Comb lightly and lift from underneath when necessary.
Ignoring an Overgrown Haircut
Sometimes the problem isn’t your technique.
If your pompadour suddenly becomes much harder to style after several weeks, the haircut may simply have become too heavy.
A cleanup can make a dramatic difference.
A Quick Everyday Pompadour Routine
Once you’re comfortable with the technique, your everyday routine can be fairly simple.
- Start with damp hair.
- Apply pre-styler if needed.
- Blow-dry backward while lifting the roots.
- Give the front extra height.
- Make sure the hair is fully dry.
- Apply a small amount of styling product.
- Shape with your fingers or comb.
- Finish with hairspray only if you need additional hold.
The more consistently you use the same technique, the faster you’ll become.
Final Thoughts
Learning how to style a pompadour is less about finding a miracle hair product and more about understanding how to build the shape.
Start with damp hair, use the blow dryer to create volume at the roots, and direct the front upward before sweeping it backward. Once the basic silhouette is in place, use a small amount of pomade, clay, paste, or cream to refine and hold it.
From there, adjust the technique to your hair.
A classic pompadour may need a comb and pomade for a smoother finish. A modern version can be styled loosely with your fingers and a matte product. Fine hair may need lightweight volume, while thick hair may need stronger control.
Once you figure out that combination, the pompadour becomes much easier to recreate—and you won’t need half a jar of product to keep it standing.