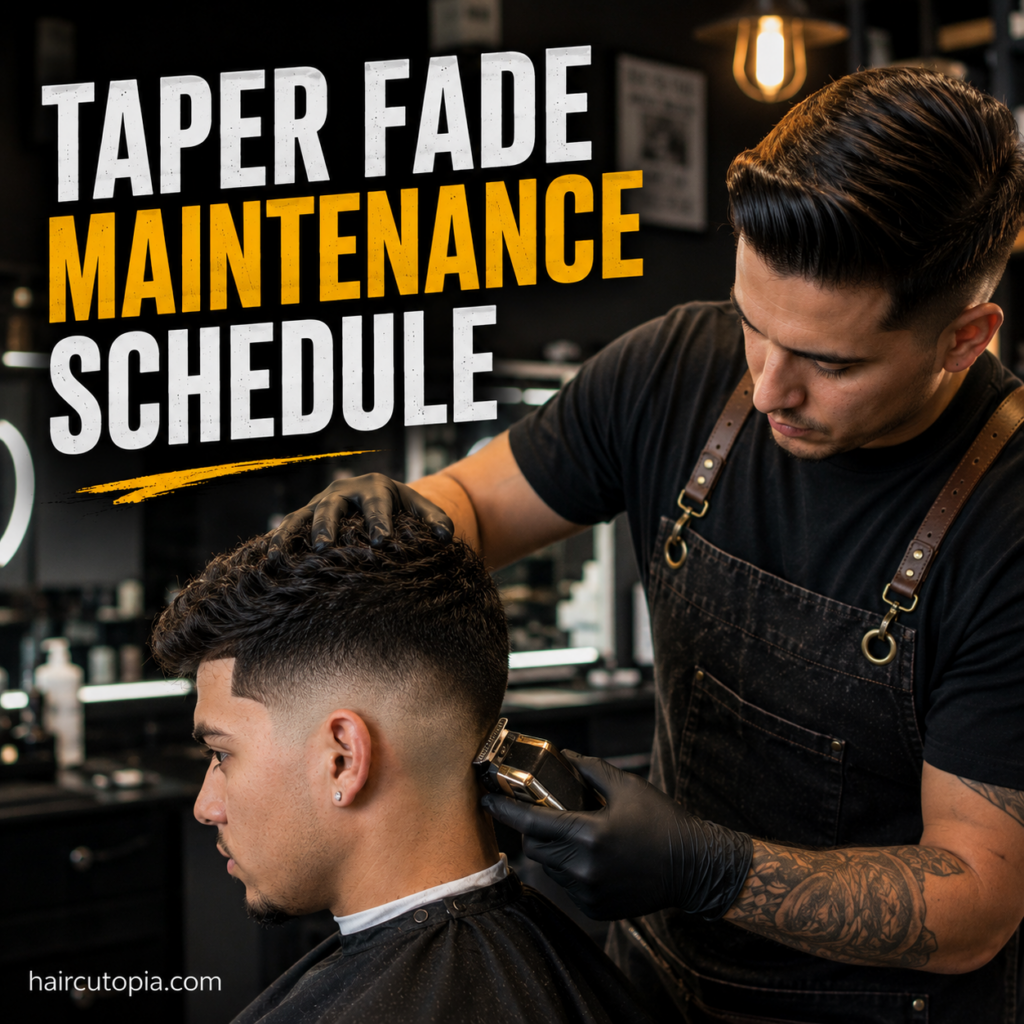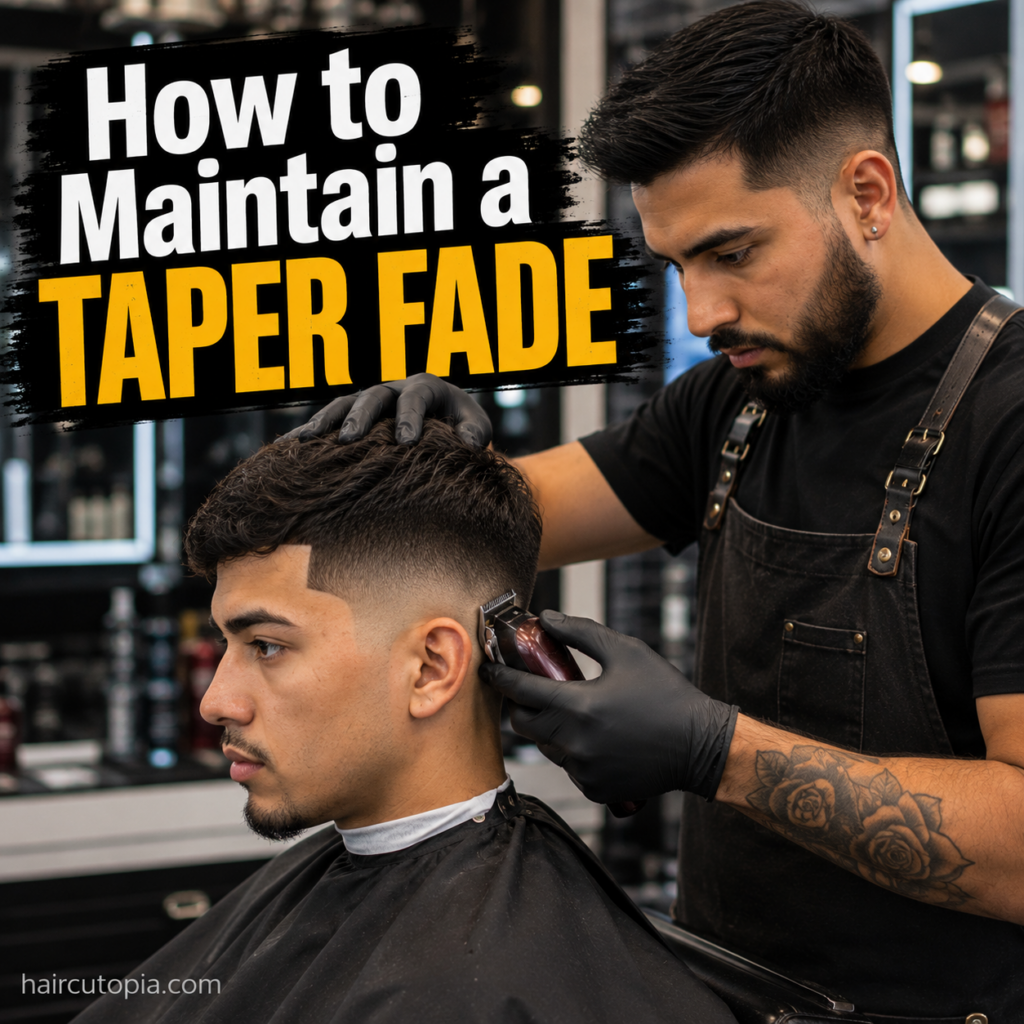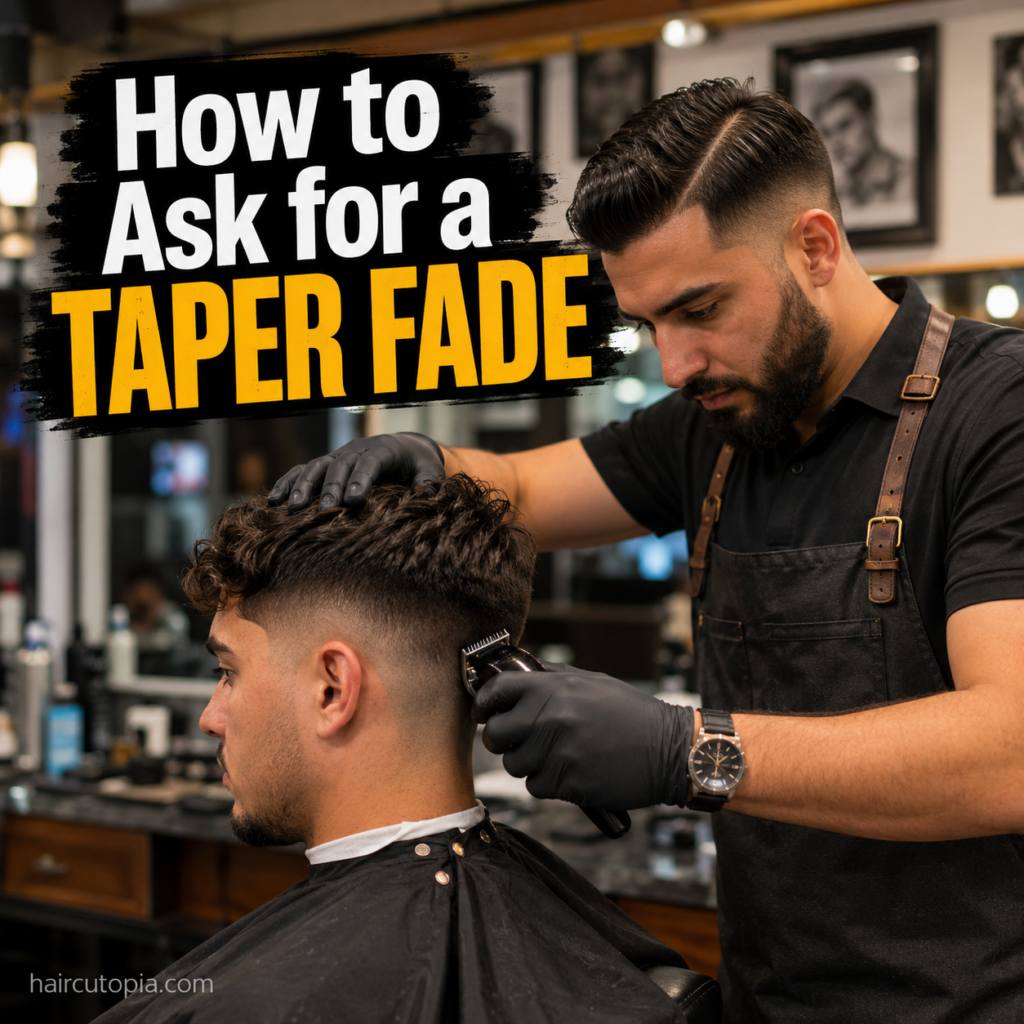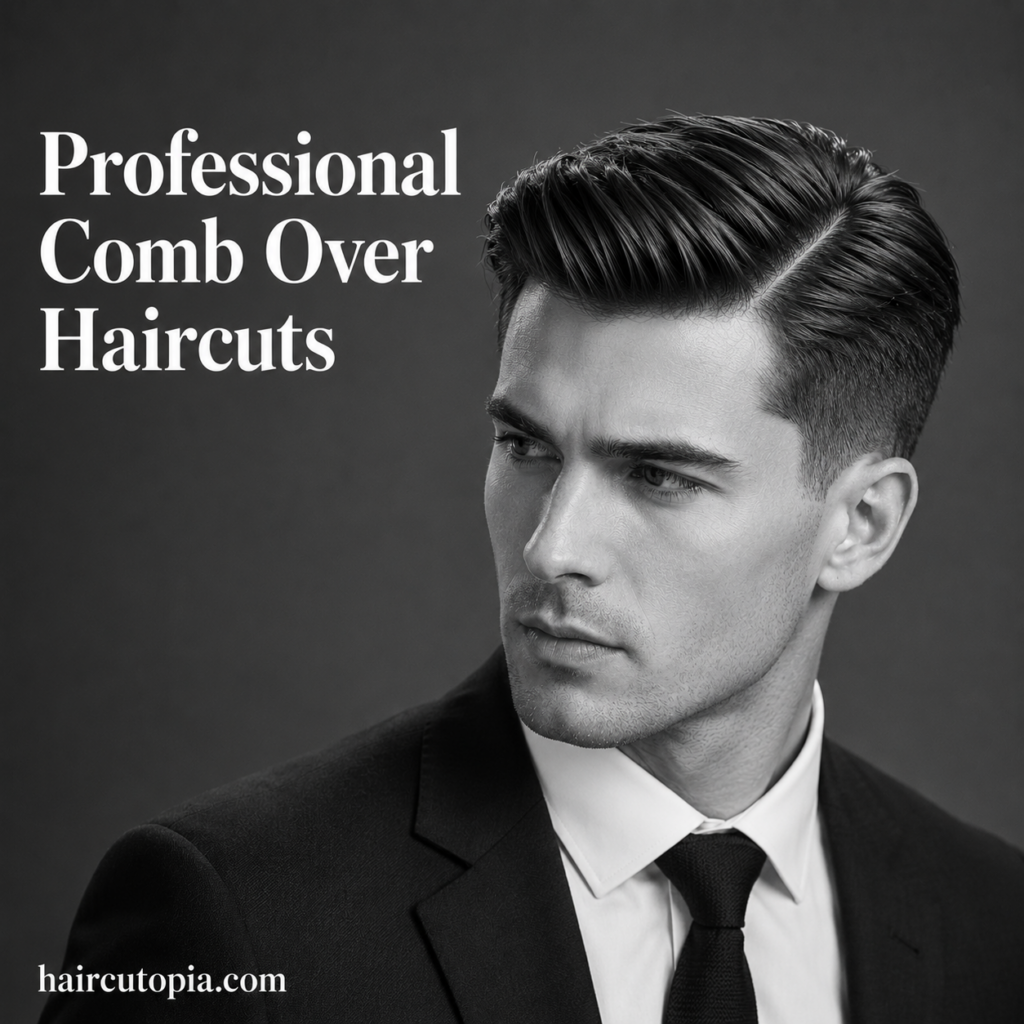
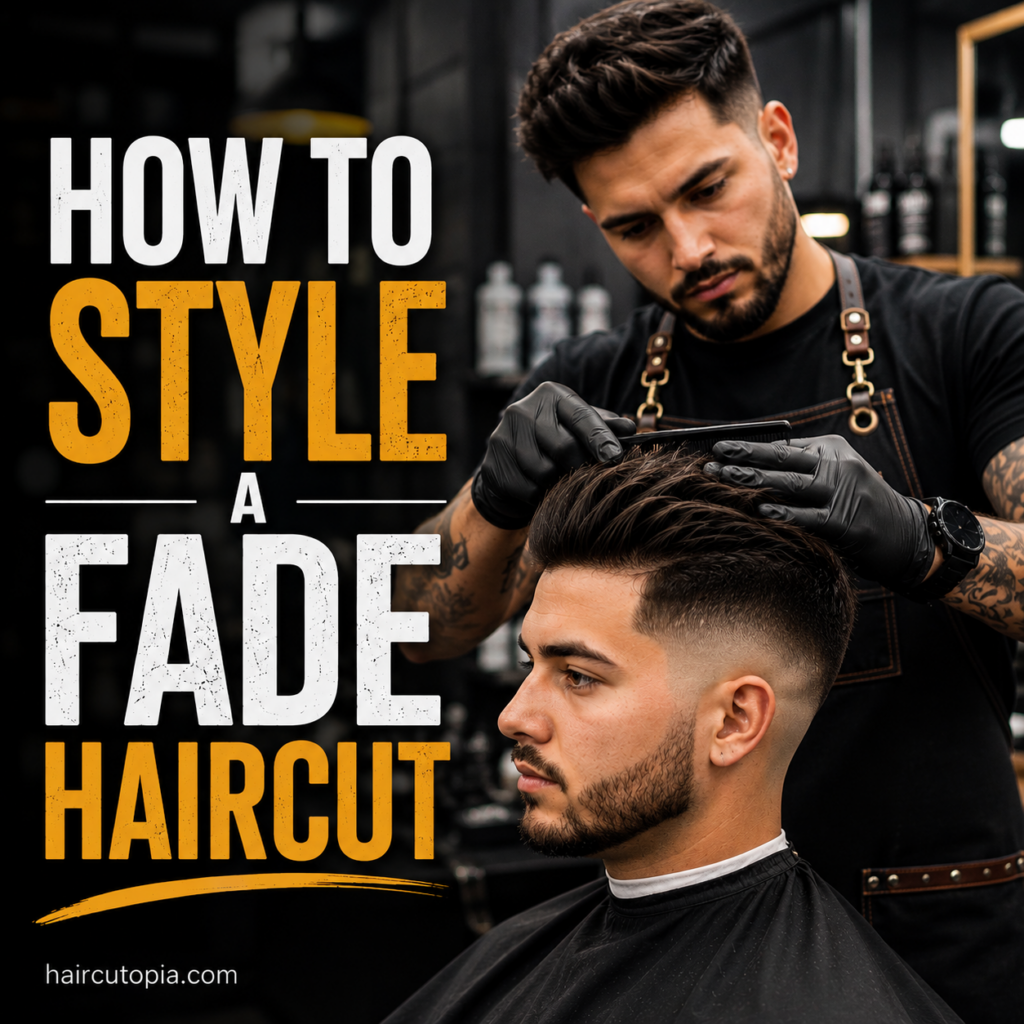
A good fade already does a lot of the work for you. With the sides cut short and blended cleanly into the longer hair above, most of the actual styling happens on top.
That’s also what makes fades so versatile. The same fade can look completely different depending on whether you wear the top textured, slicked back, messy, curly, or pushed into a quiff.
You don’t need a complicated routine or a collection of products to make it work. The key is choosing a style that suits your hair length and texture, then using the right amount of product to keep everything in place.
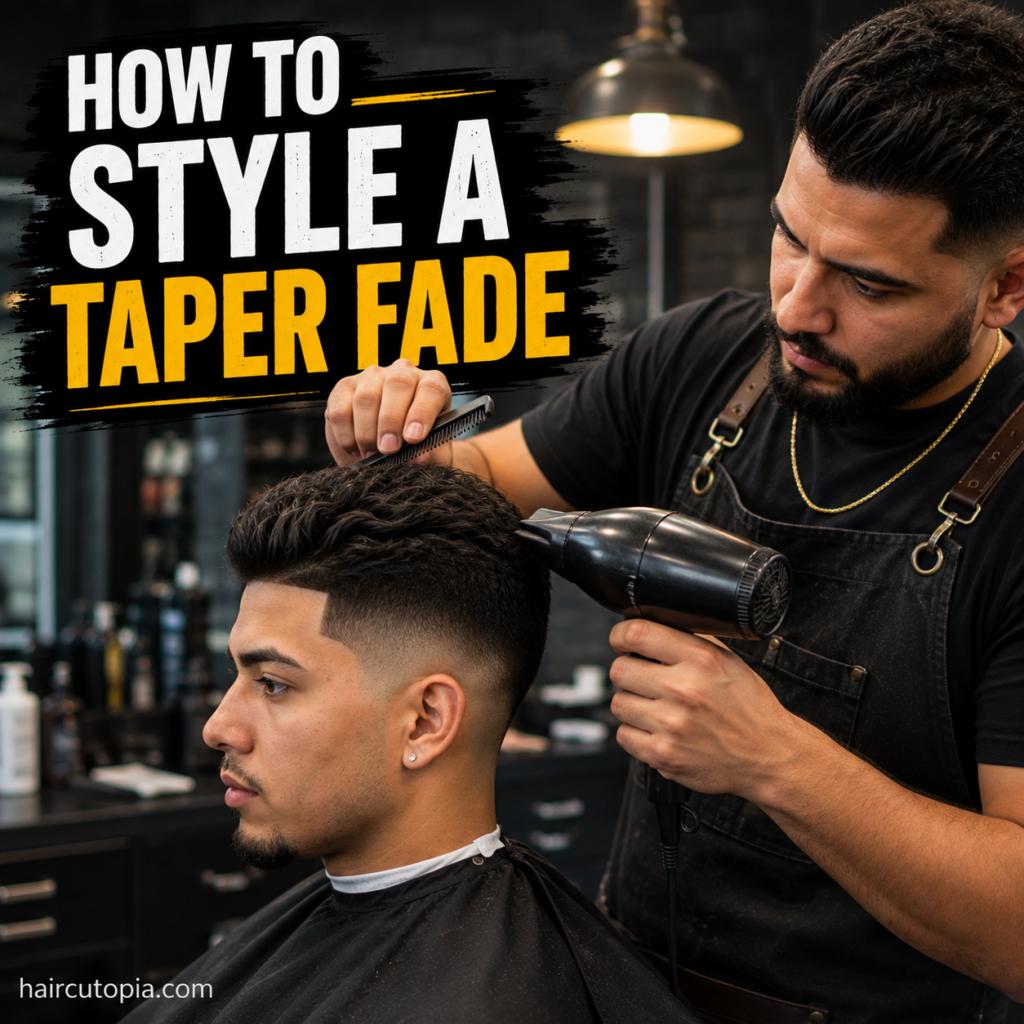
Here’s how to style a fade haircut at home and get closer to that fresh-from-the-barbershop finish.
Start With the Right Fade
Before worrying about styling products, remember that the fade itself affects the overall appearance of your hairstyle.
A low fade creates a softer transition and leaves more hair around the sides of the head. A high fade removes more hair and creates stronger contrast between the top and sides. A mid fade falls somewhere between the two.
Then there’s the length at the bottom. A skin fade exposes the scalp, while a longer fade leaves more visible hair.
None is inherently easier or better to style. They simply create different proportions.
Your barber can help match the fade to the hairstyle you want to wear on top.
Style Your Hair When It’s Slightly Damp
For many hairstyles, the easiest time to start shaping your hair is after a shower when it is clean and slightly damp.
Don’t leave it soaking wet.
Gently towel-dry your hair until most of the excess moisture is gone. Avoid aggressively rubbing longer hair with a towel, particularly if you’re prone to frizz.
At this point, you can begin directing the hair into roughly the position you want before adding your finishing product.
Depending on your hair type and desired style, you may also apply a pre-styling product before blow-drying.
Use a Blow-Dryer for Shape and Volume
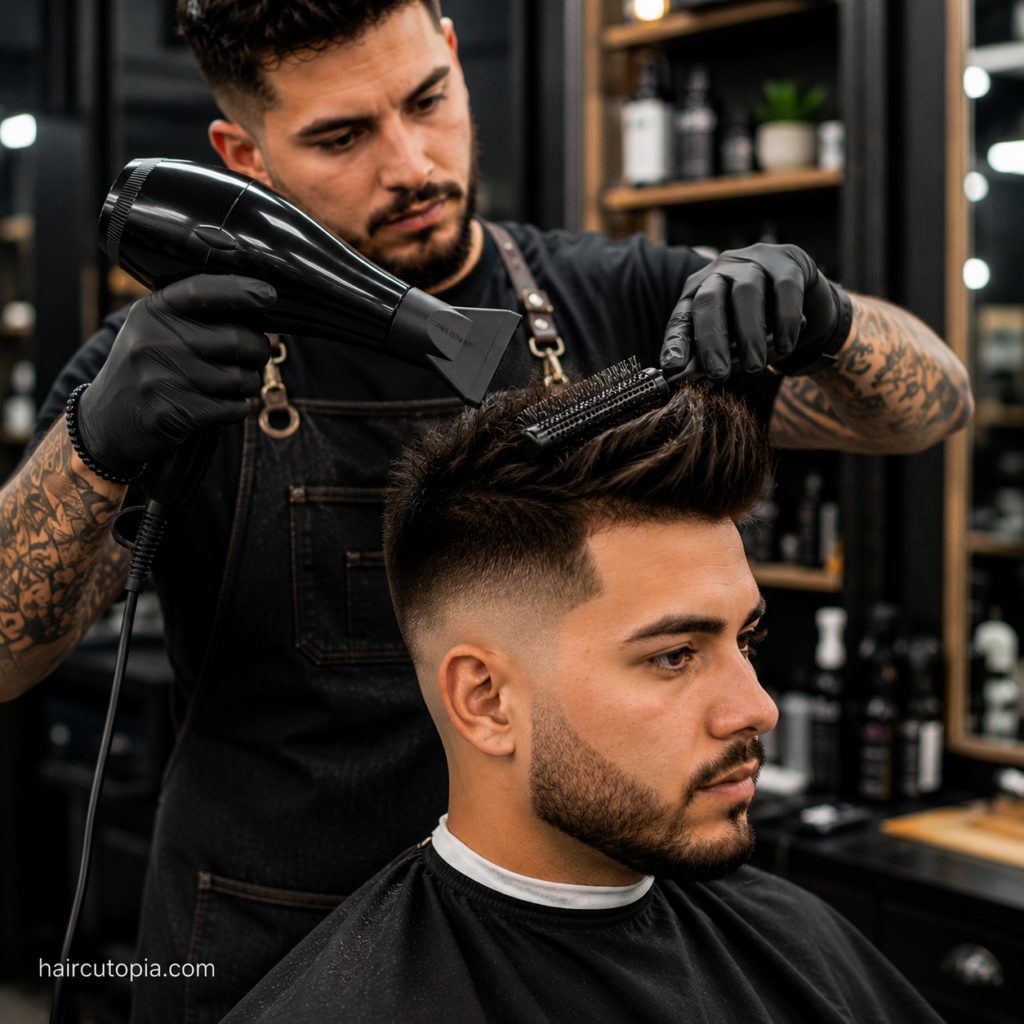
A blow-dryer isn’t necessary for every fade hairstyle, but it can make a major difference when you’re trying to create volume or control direction.
Instead of randomly blowing air through your hair, use the dryer to guide it toward the finished style.
Want a quiff? Direct the front upward and backward.
Want a side-swept style? Blow-dry the hair in that direction.
Want the top slicked back? Guide it backward as it dries.
Using your fingers, a comb, or a brush while blow-drying helps establish the basic shape before your main styling product goes in.
Avoid holding high heat extremely close to your hair or scalp. Moderate heat and some distance are usually enough to shape the hair.
Choose the Right Styling Product
One of the biggest differences between an easy styling routine and a frustrating one is using a product that actually matches the hairstyle.
Products vary in hold, shine, texture, and weight.
Pomade
Pomade is commonly associated with polished hairstyles such as slick backs, side parts, and pompadours.
Depending on the formula, it can provide anything from moderate to strong hold with varying levels of shine.
Choose pomade when you want the hair to look controlled and intentionally styled rather than dry or messy.
Hair Clay
Clay works particularly well for textured hairstyles.
It typically provides a more matte or natural finish and can help create separation between sections of hair.
Clay can be a good option for textured crops, messy styles, and shorter quiffs.
Hair Paste
Paste is a versatile choice if you’re not sure where to start.
Many pastes offer workable hold without making the hair feel excessively rigid. They’re useful for casual styles where you still want some movement.
Hair Wax
Wax can add definition and control to shorter hairstyles.
It works well when you want to shape individual sections or create texture, although heavier formulas can become noticeable if you apply too much.
Styling Cream
Creams generally offer softer control than clays, waxes, or strong pomades.
They’re useful for natural-looking styles and can work particularly well when you want to manage longer, wavy, or curly hair without creating a stiff finish.
Use Less Product Than You Think
Too much styling product is one of the easiest ways to make a fade hairstyle look heavy or greasy.
Start small.
For many short-to-medium hairstyles, begin with roughly a fingertip-sized amount. The exact amount will depend on your hair length, density, texture, and the product itself.
Rub the product thoroughly between your palms before applying it.
Then work it through the hair rather than depositing everything on the surface.
You can always add a little more.
Removing too much product usually means washing your hair and starting over.
Apply Product From Back to Front
A useful technique is to begin applying styling product toward the back of the top section and gradually move forward.
Why?
If you immediately put a large amount of product into your fringe, the front can become weighed down or greasy. Starting farther back helps distribute the product more evenly.
Work it through your hair with your fingers, then shape the front once most of the product has already been distributed.
Don’t forget the roots if your style requires volume and hold.
How to Style a Textured Fade
A textured top is one of the easiest ways to wear a fade.
The goal isn’t to make every strand perfectly uniform. Slight variation is part of the look.
To style it:
- Start with clean, slightly damp or dry hair.
- Blow-dry the hair in the general direction you want it to sit.
- Work a small amount of matte paste or clay between your hands.
- Apply it throughout the top.
- Use your fingertips to separate and define small sections.
- Adjust the front until the shape looks balanced.
Try not to overwork the hair. Textured styles often look better when they’re slightly imperfect.
How to Style a Fade With a Quiff
A quiff pairs especially well with a fade because the short sides emphasize the volume at the front.
Start with damp hair.
Apply an appropriate pre-styler if you use one, then blow-dry the front upward and slightly backward. Use your fingers or a brush to build the shape.
Once dry, apply a small amount of your preferred styling product.
Work it through the top and reinforce the height at the front.
The goal is volume without creating a solid wall of hair. A little movement generally makes a modern quiff look more natural.
How to Style a Slicked-Back Fade
For a cleaner, more polished look, longer hair on top can be styled backward.
Begin with damp hair and comb or blow-dry it away from your forehead.
Apply pomade or another product with enough hold for your hair length.
Work the product through the hair from roots to ends, then use your fingers or a comb to direct everything backward.
A comb creates a more structured finish. Fingers leave the style looser and more natural.
If the hair keeps falling forward, you may need more length, stronger hold, or better direction from blow-drying rather than simply adding more product.
How to Style a Side-Part Fade
A side part creates a classic contrast with faded sides.
First, find your natural part. Your barber may already have shaped the haircut to make this obvious.
With slightly damp hair, direct the top away from the part using a comb or your fingers.
Blow-dry it into position if you need additional control.
Apply a small amount of paste, pomade, or cream depending on how polished you want the finished style.
For a traditional appearance, use a comb to create cleaner lines. For something more casual, loosen the style with your fingers after establishing the part.
How to Style a Curly Fade
Curly hair doesn’t need to be forced into the same styling routine as straight hair.
With a curly fade, the short sides naturally emphasize the texture on top.
Start by focusing on moisture and curl definition.
Depending on your curl pattern, your routine might include:
- Leave-in conditioner
- Curl cream
- Lightweight styling gel
- Mousse
- Other products designed for your curl type
Apply products according to your hair’s needs, distributing them without unnecessarily disrupting the natural curl pattern.
Air-drying may work well, or you can use a diffuser if you prefer blow-drying.
Avoid repeatedly running a fine comb through dry curls just to make them look neat. That can separate the curl pattern and create unwanted frizz.
How to Style a Short Fade
If you have a buzz cut, crew cut, short crop, or similarly short style, you may need very little product.
That’s one of the advantages.
For a short textured top, a tiny amount of matte product can create definition.
With extremely short hair, you may not need styling product at all. Keeping the hair and scalp clean may be enough.
Don’t add product simply because you have it. If your haircut already sits naturally where you want it, leave it alone.
How to Style a Longer Fade
Longer hair creates more styling options, but it can also require more preparation.
You might wear the top:
- Swept backward
- Side-swept
- Loose and textured
- In a pompadour
- In a longer quiff
- Naturally curly or wavy
- Parted
Blow-drying becomes especially useful as the top gets longer because you can establish direction and volume before applying product.
The product itself then reinforces the shape instead of doing all the work.
Should You Put Product on the Faded Sides?
Usually, very little product is necessary on the actual fade.
The sides are already short enough to maintain their shape naturally.
If the fade has grown out and certain hairs are beginning to stick away from the head, a tiny amount of lightweight product may help control them.
Don’t coat the sides in heavy pomade or wax. It can make short hair look oily and emphasize the scalp.
Concentrate most of your styling effort on the longer hair.
Match Your Styling Routine to Your Hair Type
Two people can have almost identical fades and still need completely different styling routines.
Straight Hair
Straight hair can work particularly well with structured or textured fade styles.
Depending on the length, try paste, clay, wax, or pomade. Blow-drying can help create volume if the hair naturally lies flat.
Wavy Hair
Rather than fighting your waves, consider using them as part of the hairstyle.
Lightweight creams and flexible products can provide control while allowing the natural movement to remain visible.
Curly Hair
Prioritize moisture and definition.
Use products designed for curls and avoid unnecessarily manipulating the hair once the curl pattern has formed.
Thick Hair
Thick hair may require stronger hold, but don’t automatically pile on more product.
Proper blow-drying and a haircut that removes excess bulk can make thick hair considerably easier to manage.
Fine Hair
Heavy products can quickly flatten fine hair.
Lighter formulas and matte products may help create the appearance of texture without weighing everything down. Blow-drying can also provide useful lift.
How to Restyle Your Fade in the Morning
You don’t necessarily need to wash your hair every morning just to restyle it.
If your hair has flattened while you slept, try lightly dampening it and reshaping it.
For some hairstyles, wetting your hands and running them through the top is enough. Others may benefit from a spray bottle followed by a quick blow-dry.
You might also be able to reactivate some existing styling products with a little moisture.
Add fresh product only when you need it. Layering more product onto yesterday’s product every morning can eventually leave your hair feeling heavy.
Common Fade Styling Mistakes
A fade is relatively forgiving, but a few habits can make styling harder than necessary.
Using Too Much Product
More product doesn’t always mean more hold.
Excessive product can flatten the hair, create unwanted shine, and make individual strands clump together.
Skipping the Blow-Dryer
If your hairstyle needs volume or strong direction, trying to create everything with product alone can make the hair feel overloaded.
Establish the shape first. Then use product to reinforce it.
Fighting Your Natural Hair Texture
Trying to make curly hair behave exactly like straight hair—or vice versa—can turn a simple morning routine into a frustrating one.
Choose a hairstyle that works with your texture whenever possible.
Ignoring How Your Hair Grows
Cowlicks and natural growth patterns affect where your hair wants to sit.
Your barber can cut with those patterns in mind, and your styling routine should do the same.
Using the Same Routine at Every Length
A product that worked perfectly immediately after your haircut may not perform the same way three weeks later.
As the top and sides grow, adjust the amount of product and your styling technique.
Ask Your Barber to Show You How to Style It
One of the best times to learn how to style your fade is immediately after getting it cut.
Watch what your barber does.
Ask which direction they’re blow-drying your hair, how much product they’re using, and why they chose that particular product.
You can even ask them to walk you through the process.
That gives you a routine designed for your actual haircut rather than a generic hairstyle you’ve seen online.
If you love how your hair looks when you leave the shop but can never recreate it the next morning, this can make a big difference.
A Simple Everyday Fade Styling Routine
Your exact routine will vary, but a basic approach looks like this:
- Start with clean or lightly dampened hair.
- Towel-dry excess moisture.
- Apply a pre-styling product if needed.
- Blow-dry the top into the shape and direction you want.
- Rub a small amount of styling product between your palms.
- Distribute it evenly through the longer hair.
- Shape the hairstyle with your fingers, brush, or comb.
- Add a small amount of extra product only if necessary.
- Make final adjustments to the front and overall silhouette.
Once you know what works for your hair, the entire routine can be surprisingly quick.
Make Your Fade Work With Your Style
Learning how to style a fade haircut is less about following one perfect routine and more about understanding what your hair needs.
The faded sides provide the clean foundation. Your hair length, texture, and preferred hairstyle determine what happens on top.
Start with slightly damp hair when appropriate, use a blow-dryer when you need direction or volume, and choose a styling product that matches the finish you’re trying to create. Most importantly, don’t use more product than you need.
Whether you wear your fade with a textured crop, curls, quiff, side part, or slicked-back top, a simple routine that’s suited to your hair will usually give you better results than trying to force it into a style it doesn’t naturally want to hold.